Overview
The Column Chooser allows users to build and add custom reports with varying data sets or easily swap out the data set columns using macro-enabled technology for other variations. Column Chooser makes it easy, whether this is a static report or a dynamic, multi-period report.
Links
Column Chooser Options Detailed
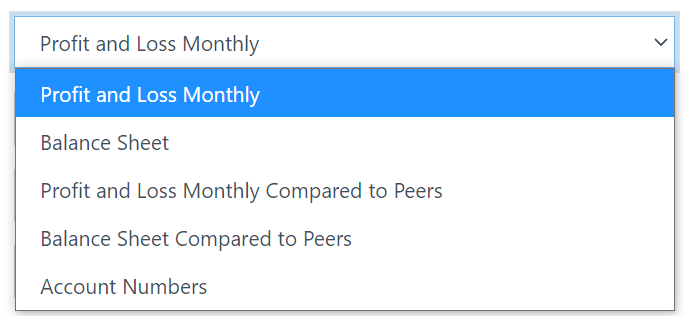
- REPORT TYPE – This setting determines what set of data is being used for the report.
-
- A Profit and Loss (P&L) is a report that provides a summary of a company’s revenues, expenses, and profits (or losses) over a given period of time. The P&L statement shows a company’s ability to generate sales, manage expenses, and create profits.
- The Balance Sheet report is a statement of the assets, liabilities, and capital of a business (or other organization) at a set point in time. The Balance Sheet details the balance of income and expenditure over the preceding period.
- The Compared to Peers report on the Profit and Loss and Balance Sheet allows a user to obtain a relative ranking based on selected peers as a comparison group.
- Account Numbers is not a financial report but is an option to extract only the account numbers from your accounts that don't show up in certain SCoA reports.
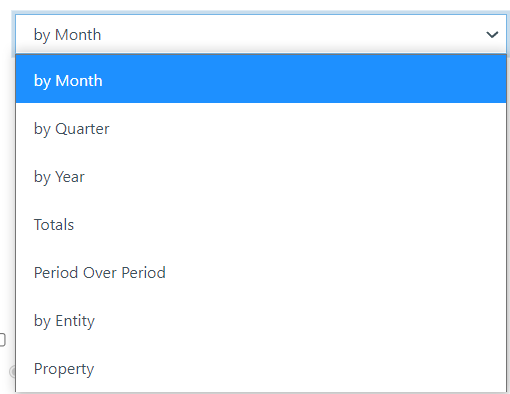
- FREQUENCY – determines how your data is grouped into the columns of the report.
- "by Month" would generate consolidated columns for each month of the selected date range.
- "by Quarter" creates a new column for each of the 3 months in the selected date range.
- "by Year" would provide the user with a column for each year in the selected date range.
- “Totals” would generate one column with a consolidated total for the selected date range.
- "Period over Period" would be the current time period versus the same time of the prior year.
- “by Entity” and "Property" would generate a column for each entity selected under “Filter Entities” in the top-middle of the app.
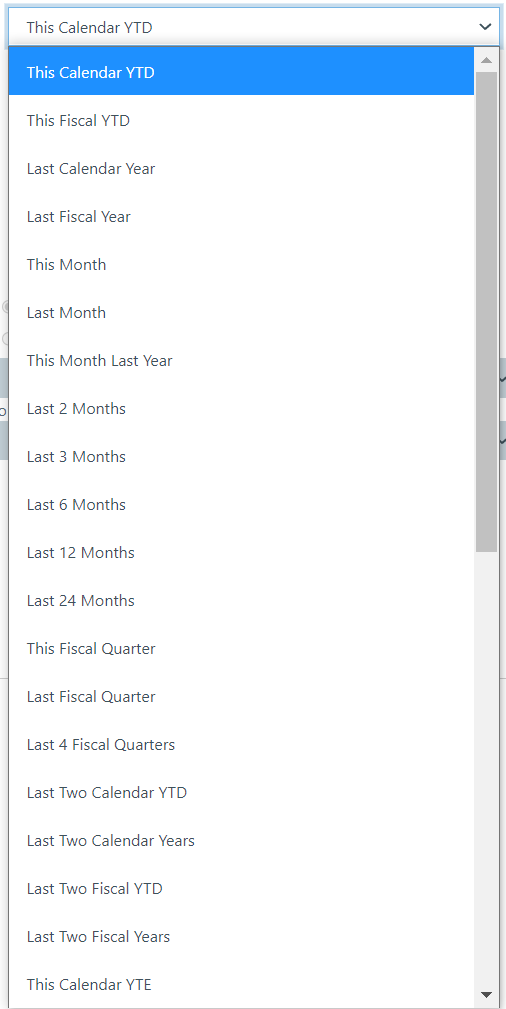
- DATE RANGE – Determines the timeframe for the report. We recommend using the predefined rolling date ranges whenever possible to make your template more dynamic, as that selection automatically updates throughout the year rather than choosing a custom date, which can then only be used with that single selected date.
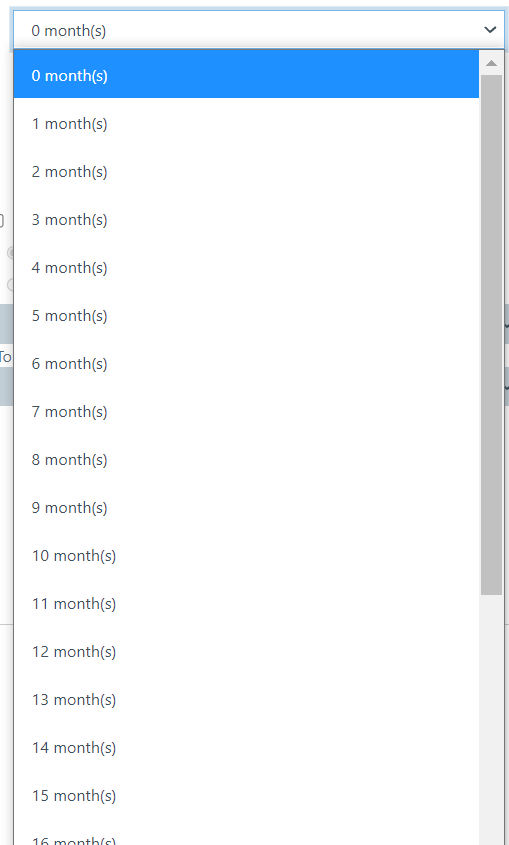
- OFFSET - If the desired date range is not in the dropdown menu, you can use the “Offset” feature below to further modify the range. For example, if you chose “Last Month” for the date range and then “Offset Last Month by -1 Month(s),” you could use a date range that would display data for 2 months ago.
- AS OF - This section can be used to allow you to run the report "As Of" different date ranges on the fly. More about Reports & Packages with "As Of" Dates.

❗ NOTE: Date range options cannot be modified for A/R or A/P Aging Reports; these reports can only be run as of the date of your last sync.
- VERTICAL ANALYSIS – Here you can either remove, add, or have both actuals and percentages. You must choose one of the radio buttons below the dropdown before clicking “Submit.”

- BUDGET OPTIONS – Adds columns with budget data synced from QuickBooks files. You can choose to add budget columns as well as columns that reflect a budget difference in $ and in %. You can also choose to display only the budget by removing actuals in their entirety.
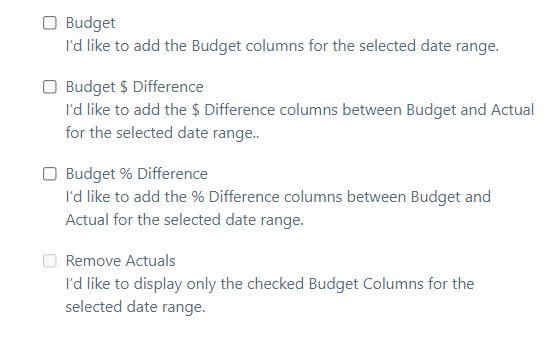
❗ NOTE: For the Budget data to migrate from QuickBooks, your budgets must exist at the same tier you are syncing to Qvinci. For example, if you are syncing individual classes from a QuickBooks Online file, Qvinci will only sync class-level budgets. You can read more about syncing budgets from QuickBooks desktop and syncing budgets from QuickBooks Online.
Using the Column Chooser
Step 1. Start by Saving a Jumpstart Template from Reports & Libraries > Libraries > Qvinci Gallery and choosing Edit ![]() to open the base template of that report.
to open the base template of that report.
Step 2. The base template renders on the screen. Click the Save As icon  from the left to save a copy of the template to the Mine tab of the libraries page. By default, the template will say "copy" at the end, but this can easily be changed to a name the user prefers. Once you Submit, the new template will open and be ready to accept changes.
Note about special characters in the file name
When naming the file, avoid using special characters: "<, >, \, {, and }" which will produce an error until those values are removed.
Step 3. Click into the header cell (title cell in a column) of the column you’d like to customize or change.
Step 4. With the desired column header selected, click the ![]() Column Chooser button in the top left-hand corner to open up some options.
Column Chooser button in the top left-hand corner to open up some options.
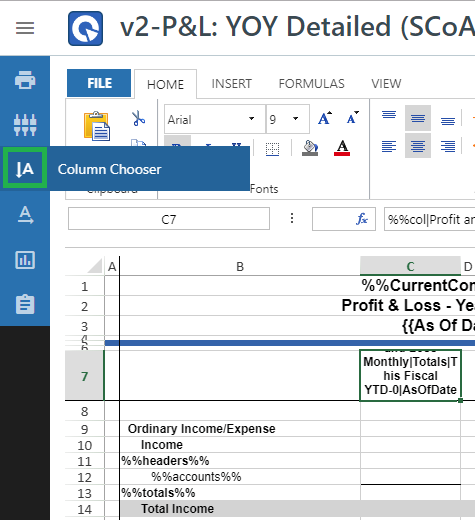
Step 5. Choose a Frequency, Date Range, and/or other options before clicking "Submit" to save your changes.

Step 6. Click "Save" ![]() from the column on the left to save your changes and press “Preview”
from the column on the left to save your changes and press “Preview” ![]() to see your changes.
to see your changes.
❗NOTE: If you forget to click “Save” you will not see your changes in the preview.
Step 7. If another column should be customized or added, choose a new column header and repeat steps 3-6.
With the appearance of certain reports, you may find it necessary to insert additional columns for spacing, adjusting the row height, and column widths to customize and create the desired report.
Repeating Titles and Column Headers
To have column headers appear on all pages when a report flows into multiple pages, users may set the report titles and column headers to repeat on multi-page reports by using the freeze panes feature of the report editor.
Notes regarding the Trial Balance Report Templates
Trial Balance reports are available in the Qvinci Gallery and can be included in Report Packages. Due to the nature of Trial Balance reports, there are less customization options as compared to Profit & Loss or Balance Sheet reports.
- Running the report by Entity is allowed.
- Cannot be run using the Standard Chart of Accounts; they will only show your native chart of accounts, exactly as they appear in your accounting software.
- Customization is limited to the Frequency and Date Range sections.
- Run as of a moment in time, so there is no Trending or by Month options for these types of templates.
Have Questions?
We're More Than Happy to Help
Schedule a Call with Customer Success below, email us at support@qvinci.com or call us at 1-512-637-7337 Ext. 1 Available M-F, 7:30am-6:30pm CT and it is always FREE!

Comments
0 comments
Article is closed for comments.