Overview
Here are some of the customization options you can make in a report with the Page Setup and Print options in our Report Editor.
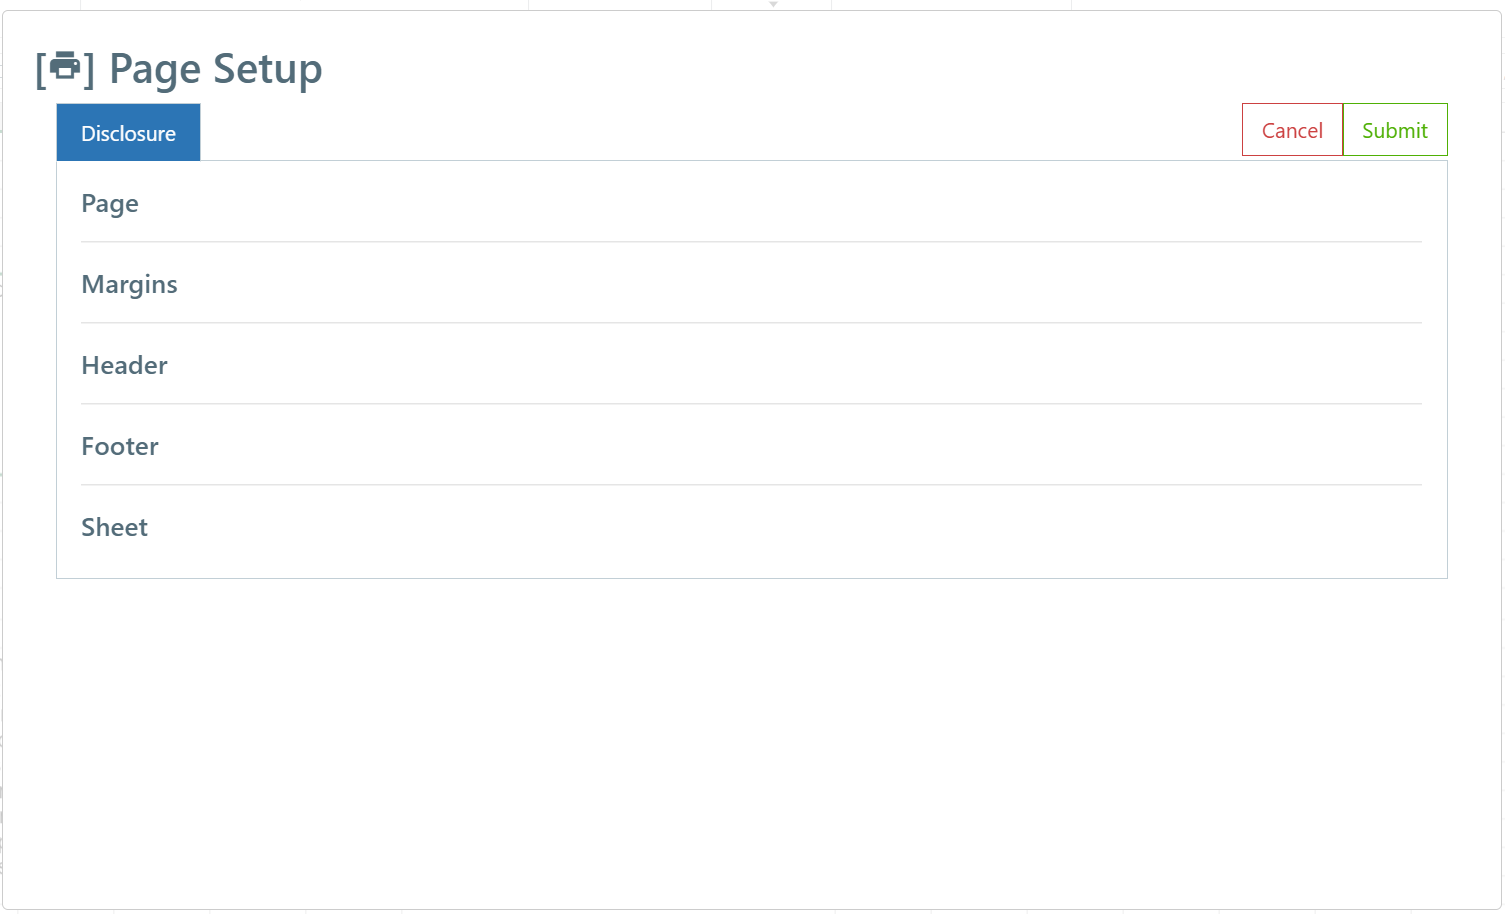
Page options and other print-related options can be set via the Page Setup ![]() icon in the top-left of the Report Editor. Each sheet in your current workbook will have a tab across the top of the Page Setup dialog box, allowing you to set different options for different sheets. Page Setup is divided into five different sections, very similar to what's available in Excel.
icon in the top-left of the Report Editor. Each sheet in your current workbook will have a tab across the top of the Page Setup dialog box, allowing you to set different options for different sheets. Page Setup is divided into five different sections, very similar to what's available in Excel.

Page
- ORIENTATION: Choose either Portrait or Landscape for the current sheet.
- SCALE TO FIT: Scale the sheet to fit to one page, or enlarge/reduce this sheet by a specified percentage.
- NOTE: If you choose "Fit to Width," keep in mind that things like font size, column size, etc., may not be uniform across your reports and packages.
- PAPER SIZE: Choose Letter (default), Legal, or another supported paper size.
- FIRST PAGE NUMBER: Set the starting page number for this sheet, if you plan on adding page numbers to your header/footer.
- NOTE: If you plan on using page numbers, be sure to set this for each sheet in your workbook.
Margins
- TOP, BOTTOM, LEFT, & RIGHT: Specify the distance between your data and the edges of this sheet.
- HEADER & FOOTER: Adjust the distance between the header or footer and the edge of the sheet. This should be smaller than the margins to prevent overlap.
- SUGGESTED DEFAULTS
- Top/Bottom: .5 inch
- Left/Right: .25 inches
- Header/Footer: .3 inches
- CENTER ON PAGE: Center the page within the margins by selecting Horizontal, Vertical, or both. We recommend turning on horizontal centering for most reports.
Header/Footer
Header and Footer are both divided into Left, Center, and Right, depending on how you'd like to align your content.
 FORMAT TEXT: Choose the font, font style, font color, and strike-through settings.
 PAGE NUMBER: Starting with the First Page Number from the Page section, insert the current page number in the desired section.
 TOTAL PAGES: Insert the total number of pages in this workbook (not only this sheet).
 INSERT DATE: Dynamically reflects the date the report is run, similar to Excel's TODAY function.
 INSERT TIME: Dynamically reflects the time the report is run.
 INSERT SHEET NAME: Dynamically inserts the name of the current sheet.
 INSERT PICTURE: Insert an image from your local machine. The height of the image should be smaller than the header/footer margin.
Underneath the Left, Center, and Right sections you'll see the Expected Output, which functions as a Preview.
Sheet
NOTE: You cannot type ranges in the boxes in this section. You must use the  arrow icon to open the area selection dialog.
 PRINT AREA: Click the arrow to set the printable area of your report.
  PRINT TITLES:
- Click the arrow next to Row to repeat at top to set rows that should repeat if your report runs on multiple pages. We suggest selecting the row with your column headers, plus one empty row below the headers for spacing.
- Click the arrow next to Columns to repeat at left if you need any columns to appear on every page of reports that span multiple pages. This can usually be left blank, but some particularly long reports may look cleaner if you repeat the column containing your chart of accounts.
 PAGE ORDER: For reports that span multiple pages, our system by default prints your first columns all the way Down, then over to print subsequent columns. If you'd rather have your reports show all the beginning rows of your report before completing your data columns, choose to first print rows Over, then down.
Have Questions?
We're More Than Happy to Help
Schedule a Call with Customer Success below, email us at support@qvinci.com or call us at 1-512-637-7337 Ext. 1 Available M-F, 7:30am-6:30pm CT and it is always FREE!

Comments
0 comments
Please sign in to leave a comment.