Overview
When you make a mistake or add a new account to your accounting file, you may have to change the Standard Chart of Account mapping to move from an old account into another account. Qvinci does not have an un-map button or option. The way to accomplish this is to remap the account into the new or correct account.
How To Remap an Account From the All-Accounts View
Step 1. Using your Admin or Leader account, go to www.qvinci.com.
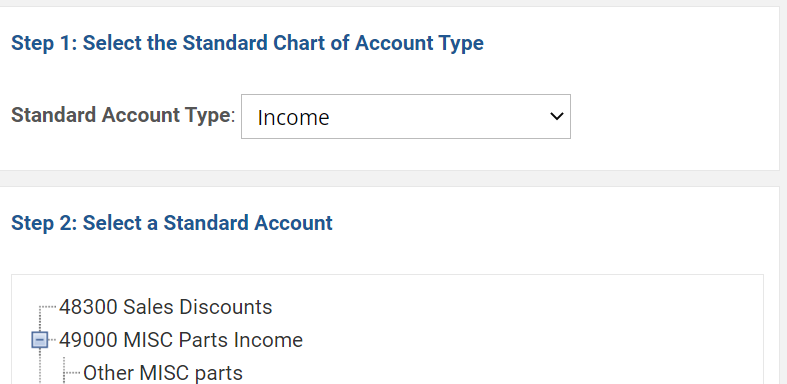
Step 2. From the dropdown under Account Type, select the top-level account type that contains the account you want to remap.

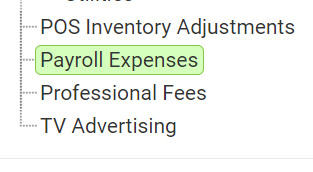
Step 3. Now that you have the account type, look in the Select a Standard Account and find the proper Account that is supposed to contain the item you want to remap and highlight it.

Step 4. With the proper account highlighted view items from the right-hand window and click the All Accounts ![]() button on the right-hand side of your screen to see both unmapped and mapped accounts.
button on the right-hand side of your screen to see both unmapped and mapped accounts.

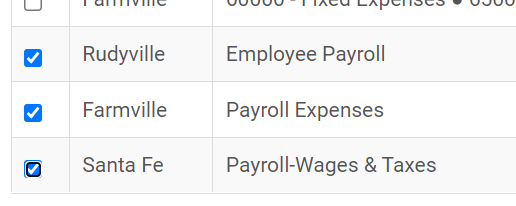
Step 5. Find the account you want to be remapped in the section to the right. You may use the search option to locate keywords used to find that account.

Step 6. Once you have selected the account, right-click the green Map Selection ![]() button.
button.
Note: If your Standard Chart of Accounts contains whitelist terms that are causing you to remap, you may decide to use the Map & Lock function, which provides for manual mapping and skipping the whitelist.
Have Questions?
We're More Than Happy to Help
Schedule a Call with Customer Success below, email us at support@qvinci.com or call us at 1-512-637-7337 Ext. 1 Available M-F, 7:30am-6:30pm CT and it is always FREE!

Comments
0 comments
Article is closed for comments.