Overview
To make more use of your templates, you may want to add titles that make sense to the user or reader of the report. During this process, you can edit the report title so the title is more relevant to the template/report you are creating.
Opening a New Template
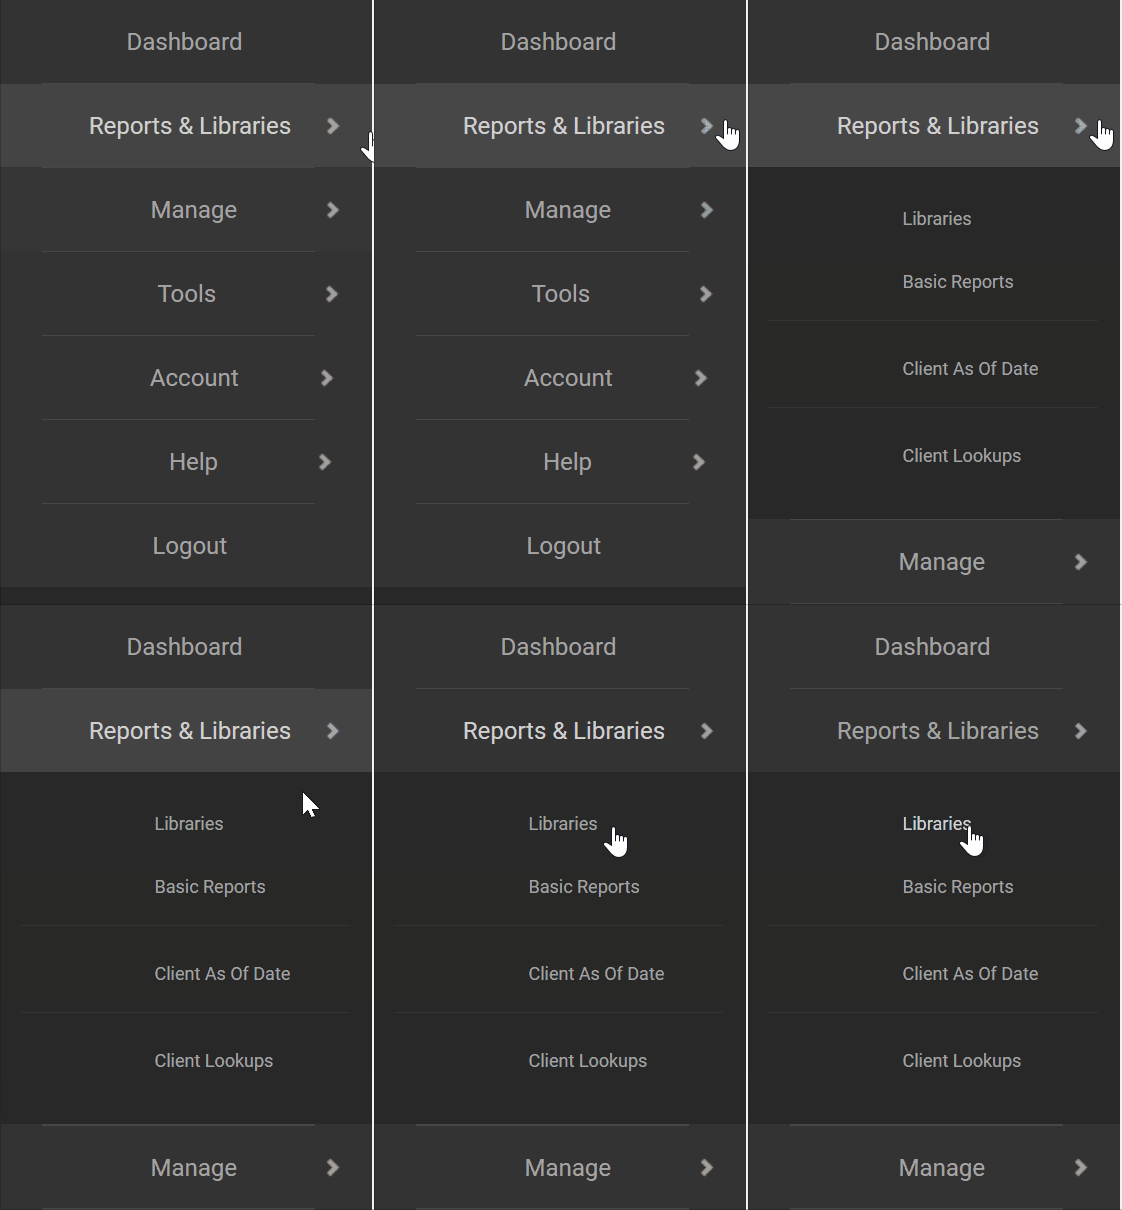
Step 1. From the left menu, choose Reports & Libraries > Libraries.

Step 2. Once you are in the libraries, you can choose any report from Pinned, Mine, Shared with Me, or the Qvinci. Gallery tabs in order to start editing and making your own report and title.
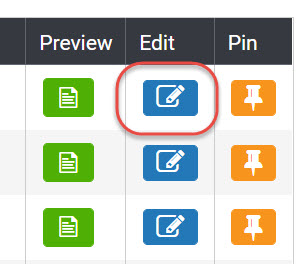
Step 3. Once you've selected one of the report templates for editing, click the Edit ![]() button. This will open the template that generates the report.
button. This will open the template that generates the report.

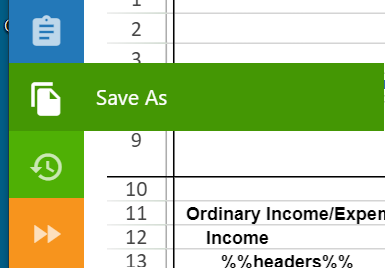
Step 4. Once the template is open, immediately click the Save As ![]() button from the left to then create your own working copy.
button from the left to then create your own working copy.

Step 5. You will be able to give your template a customized name (or you can leave it at Copy), and upon saving it will appear under your Mine tab. This is your saved template, and you may now modify it without changing the original template in the gallery.

If you make a mistake, you can always get a new copy in the gallery and start over.
Adjusting the Title in a Template
When adjusting the title, click on the cell in the top row of your report while in the template view from Edit and then click the cell that contains the title. Users can directly edit the title in this view.
If your desired title will take up more space, you can click on the cell below and then right-click your mouse and choose Insert for each additional line of your title.
Once your title is saved, press the Save ![]() button on the right to save your changes.
button on the right to save your changes.
Format the Title
Once you have the rows for your title, you'll likely want to merge the cell rows together by using the merge button and optionally choose Merge and Center by using that option from the ribbon.
Have Questions?
We're More Than Happy to Help
Schedule a call with Customer Success below, email us at support@qvinci.com or call us at 1-512-637-7337 Ext. 1 Available M-F, 7:30am-6:30pm CT and it is always FREE!
Schedule an Appointment with Customer Success

Comments
0 comments
Article is closed for comments.