Overview
Users may create special documents with either headers or footers. These can then be applied to documents or reports (assets) when packaging the items together. Although only one header and one footer document can be used per package, the user can manually control which assets in the package the header or footer should appear on.
Note: The steps below will use the same header or footer throughout the entire package; you can designate templates that should not contain a header/footer (such as a Cover Letter), but these steps would not allow you to use two different headers throughout the package.
Create a Header or Footer Document
In the Library, a user may create a document to be used as a header or footer.
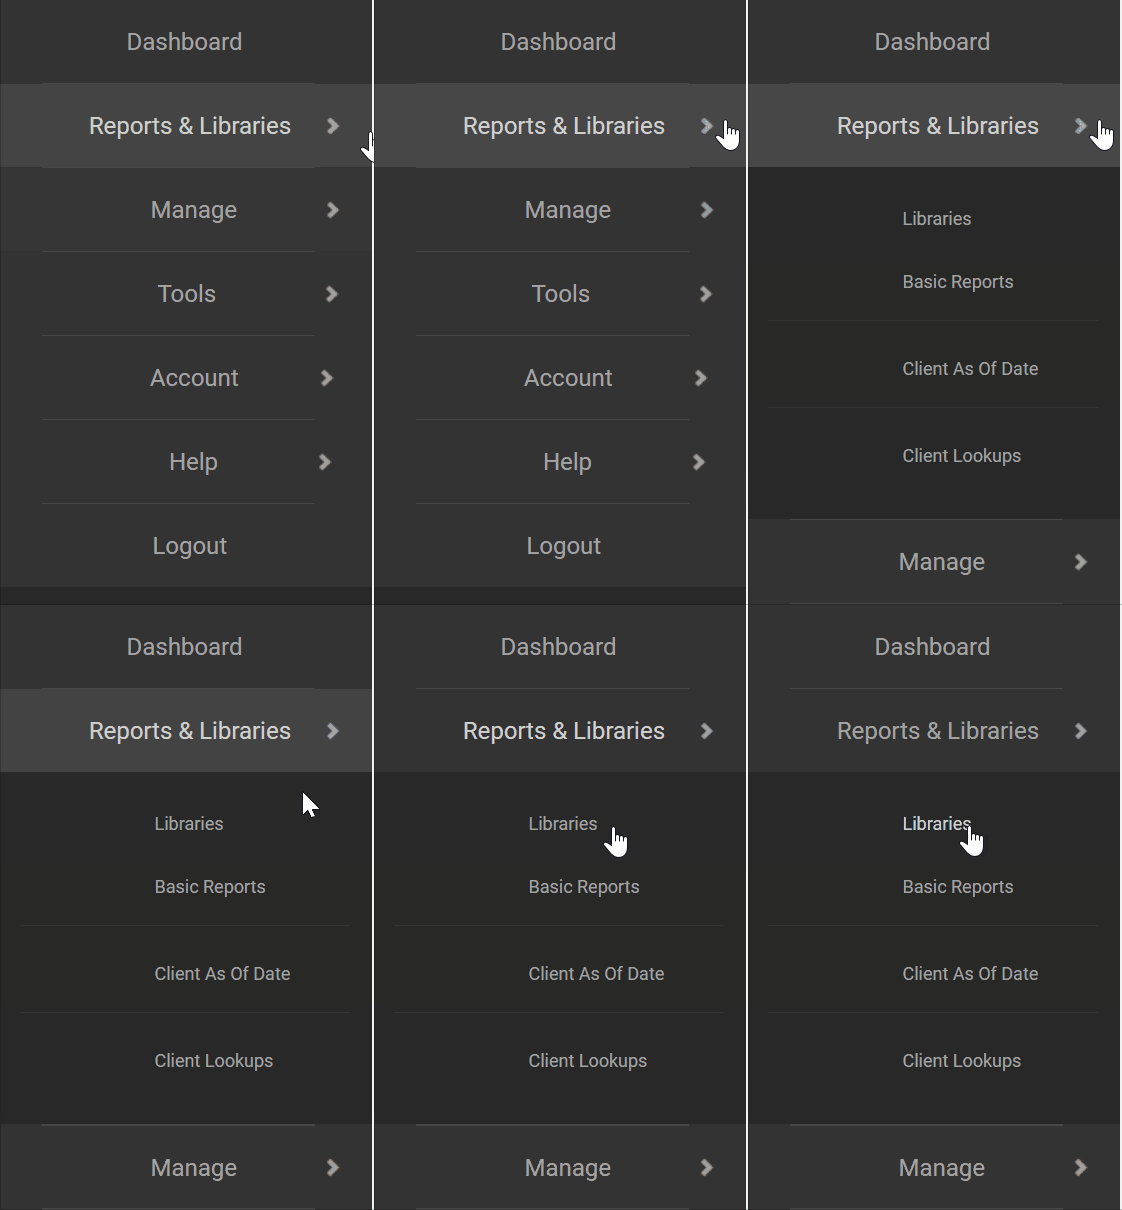
Step 1. Navigate to Reports & Libraries > Libraries
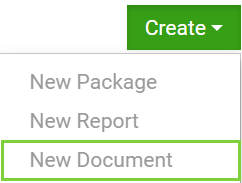
Step 2. Click the green Create ![]() button, then choose New Document
button, then choose New Document
Step 3. Insert and format the text as desired- be sure to set a font type and size.

Step 4. Before clicking the Save![]() button, check the box that says this is a header/footer.
button, check the box that says this is a header/footer.

Step 5. Once the document is flagged as a header/footer you're ready to press the Save ![]() button, save it with a distinguishable name.
button, save it with a distinguishable name.
Note: There is no limit to the number of rows or characters that may be used in a header or footer. As such, you might find that a large header or footer crosses into the reporting data section on a page when applied. It is advisable that a header or footer stay within 2-3 lines of text in order to fit within the appropriate space on a page.
Apply the Header or Footer to Assets in a Package
Once a header or footer document has been created a user may package assets together and apply the header or footer to specific assets in a package.
Step 1. Navigate to Reports & Libraries > Libraries.

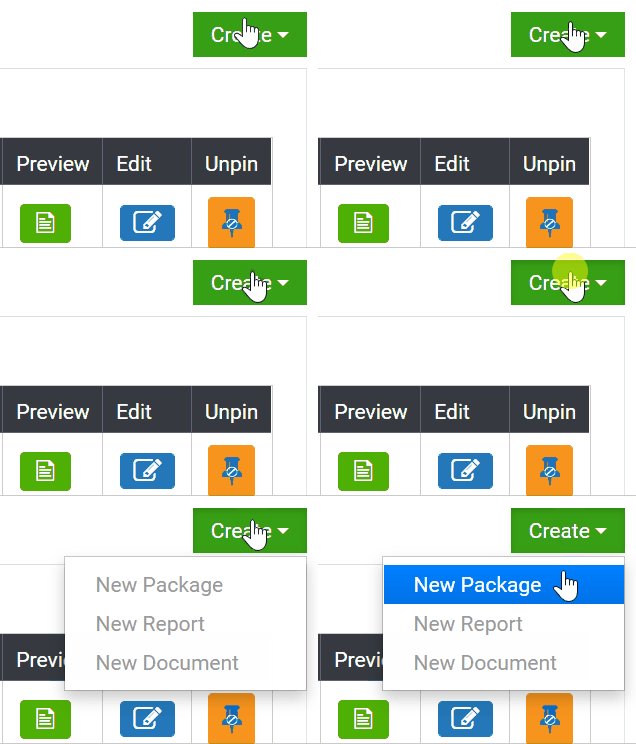
Step 2. Choose an existing package to Edit if no packages exist click on the green Create ![]() button and select New Package.
button and select New Package.
Step 3. The Package Editor consists of Reports, Documents and Header/Footer tabs
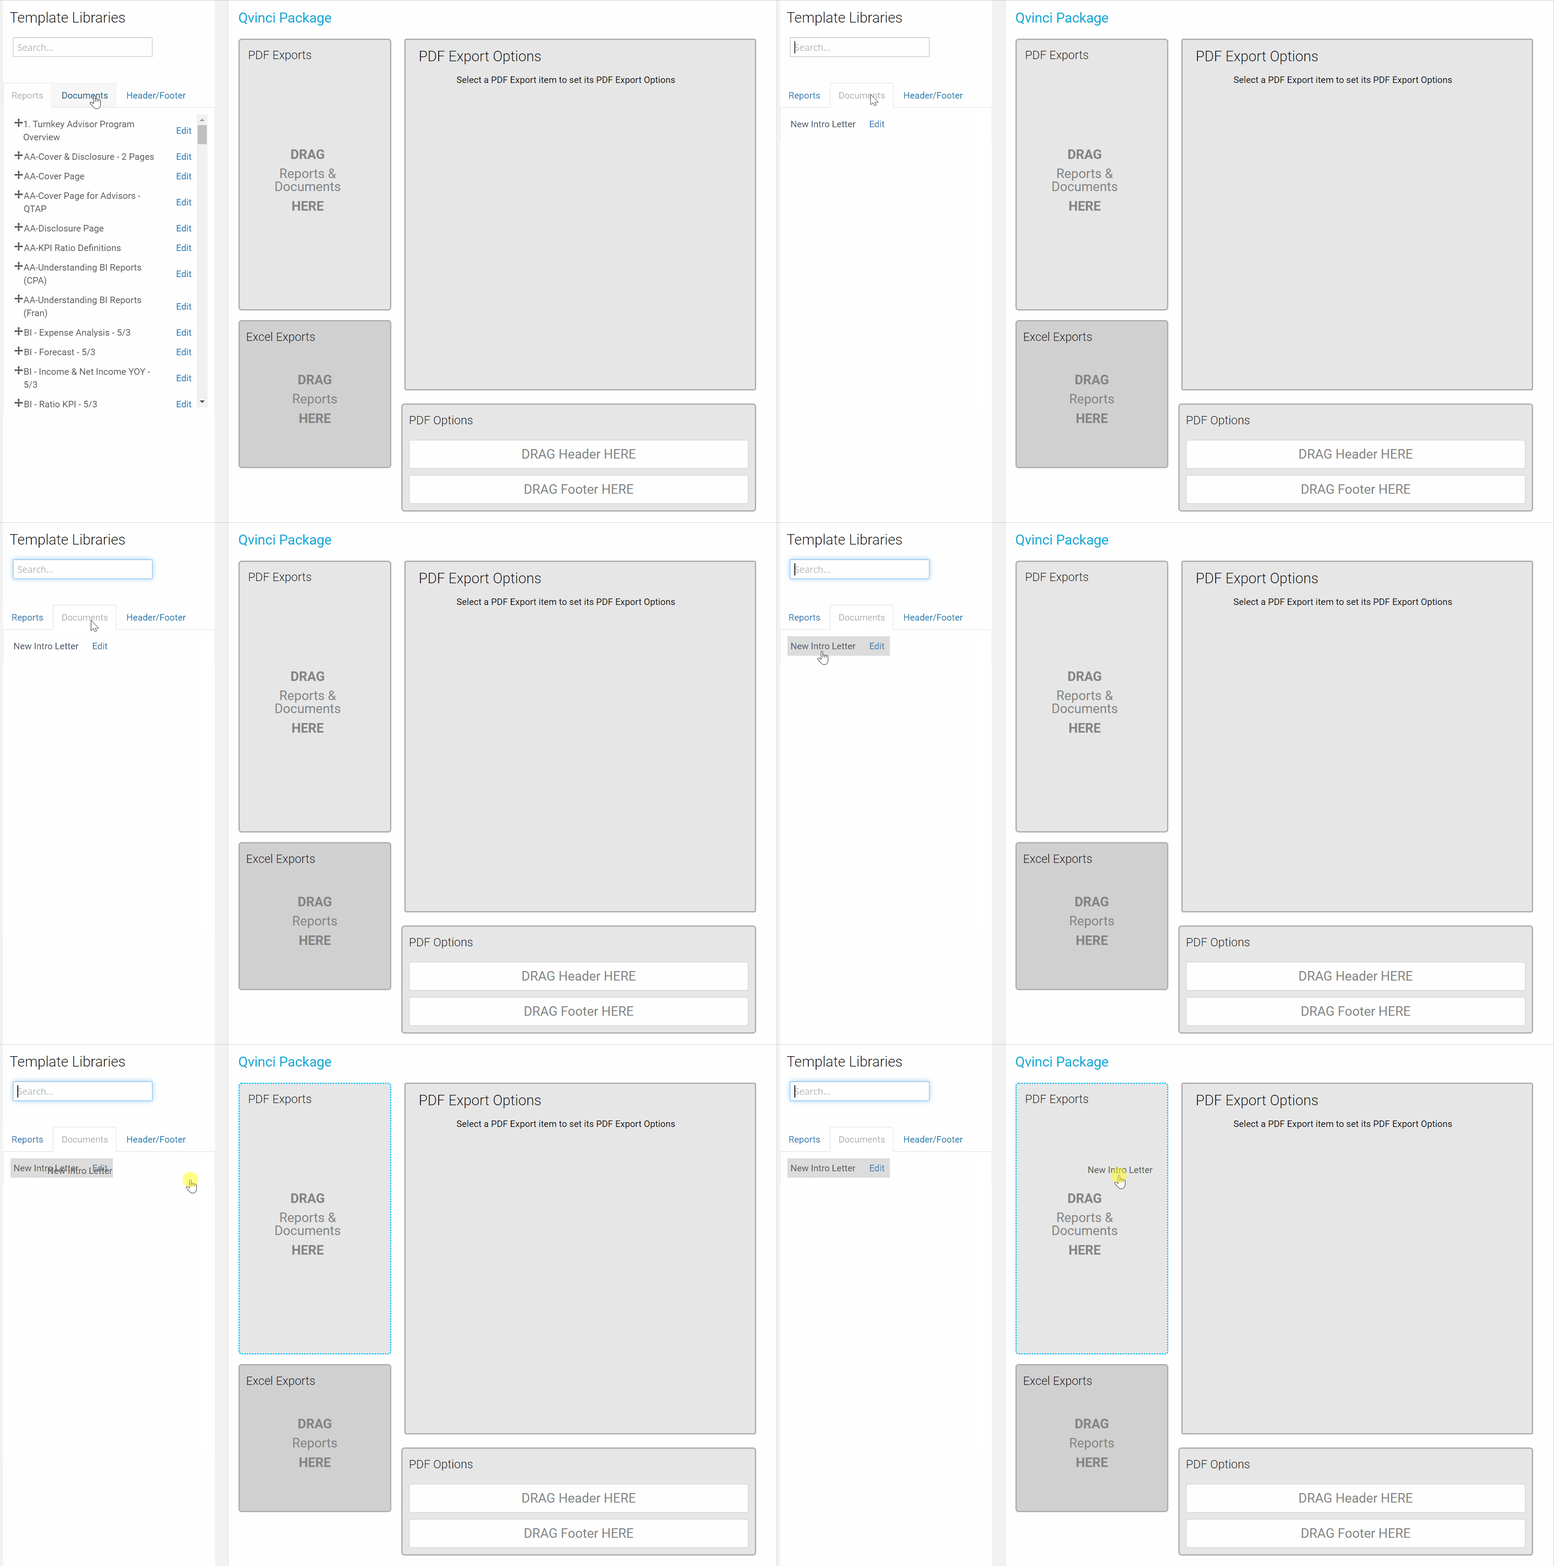
Step 4. All headers and footers (which are specifically flagged documents) that have been memorized/styled by a user, or shared to the user, appear on the Header/Footer tab.
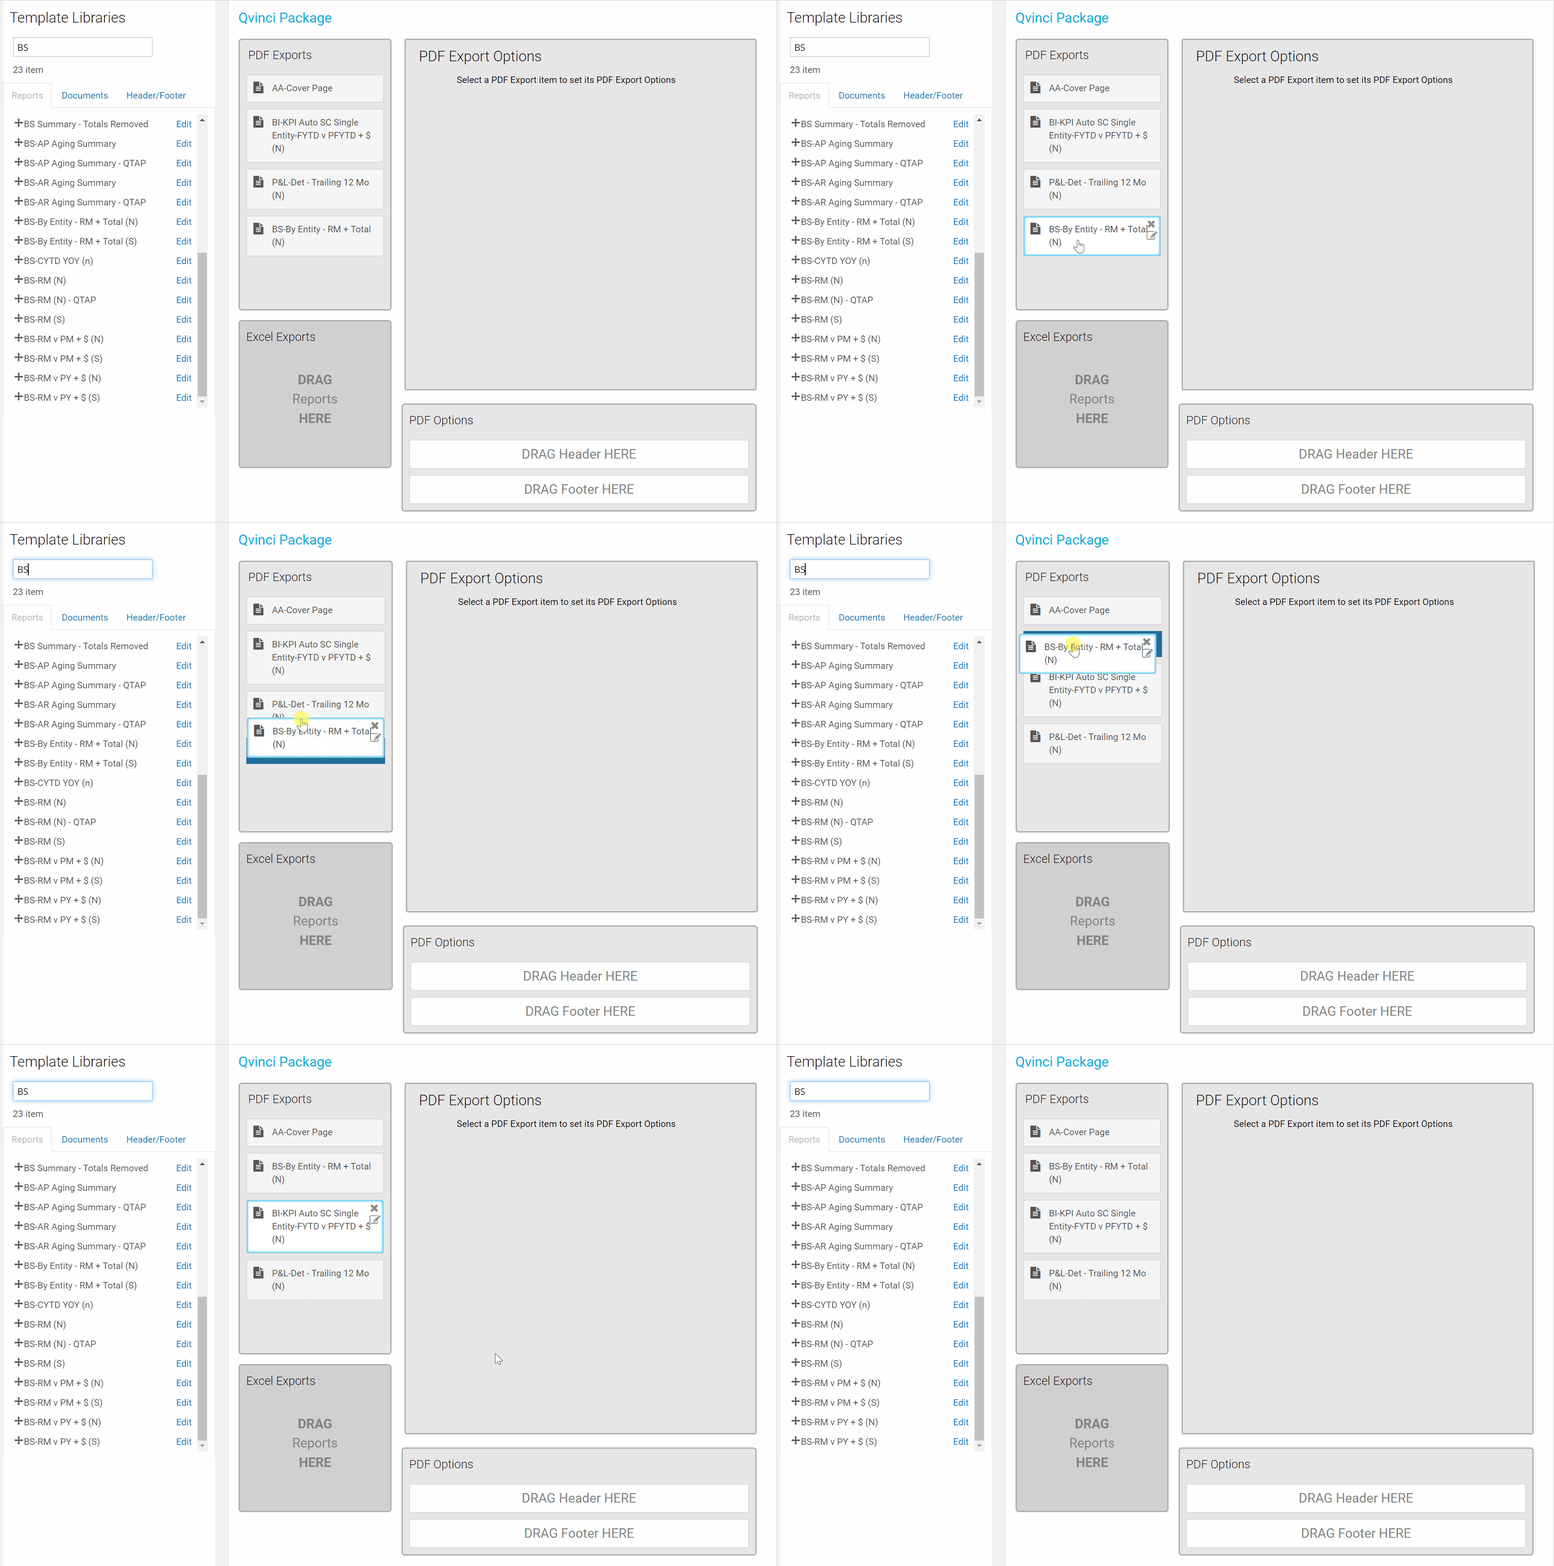
Step 5. The user may create a package by dragging reports and documents (from the corresponding tab) to the appropriate section on screen and may rearrange order by dragging items up or down (i.e.: a Cover Letter may appear first, an Intro Letter second, and then reports in varying order).
Step 6. From the Header/Footer tab a user may select the desired header or footer and drag to the corresponding sections below the package contents.
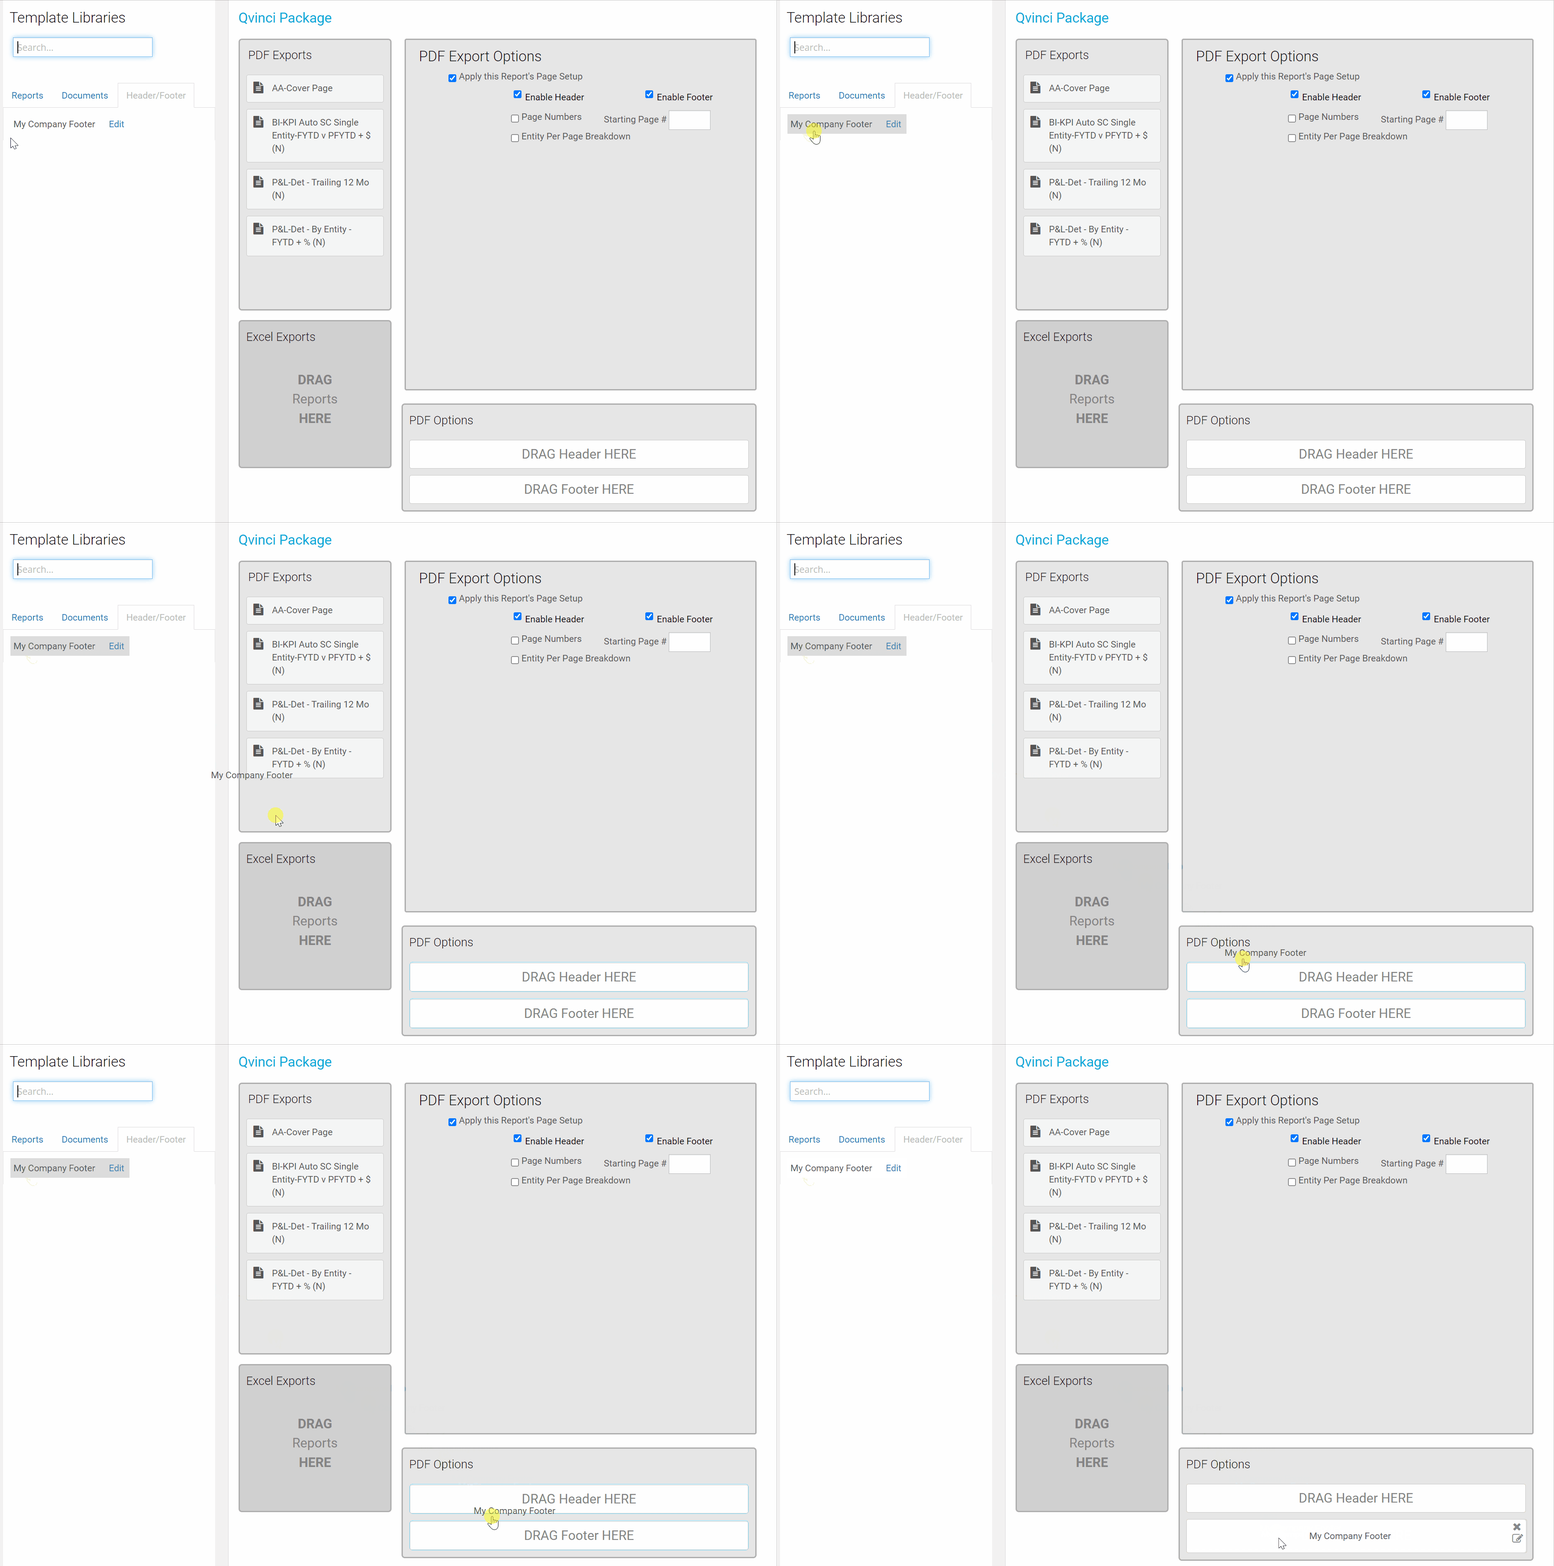
Step 7. Once the header or footer is in place the user should click on each item in the package to check that the proper Export Options appear to the right.
Step 8. By default, the Enable Header and Enable Footer options are selected but the user may deselect if desired (i.e.: if a Cover Letter does not need a footer, then deselect the option).
Step 9. Proceed through clicking on each item in the package and editing the Export Options as needed.
Step 10. Save the package and upon export of the package the header/footer will appear.
Have Questions?
We're More Than Happy to Help
Schedule a call with Customer Success below, email us at support@qvinci.com or call us at 1-512-637-7337 Ext. 1 Available M-F, 7:30am-6:30pm CT and it is always FREE!

Comments
0 comments
Article is closed for comments.