Overview
Qvinci's Report Styler allows users to create templated reports which can then dynamically update across all clients/companies/entities in the account. The purpose of this feature is to save accounting professionals or corporate users time by allowing them to create standard reports which can be styled and customized, yet still utilized across many clients/companies/entities. The Column Chooser feature allows users to easily create multi-period reports.
Choose a JumpStart Template
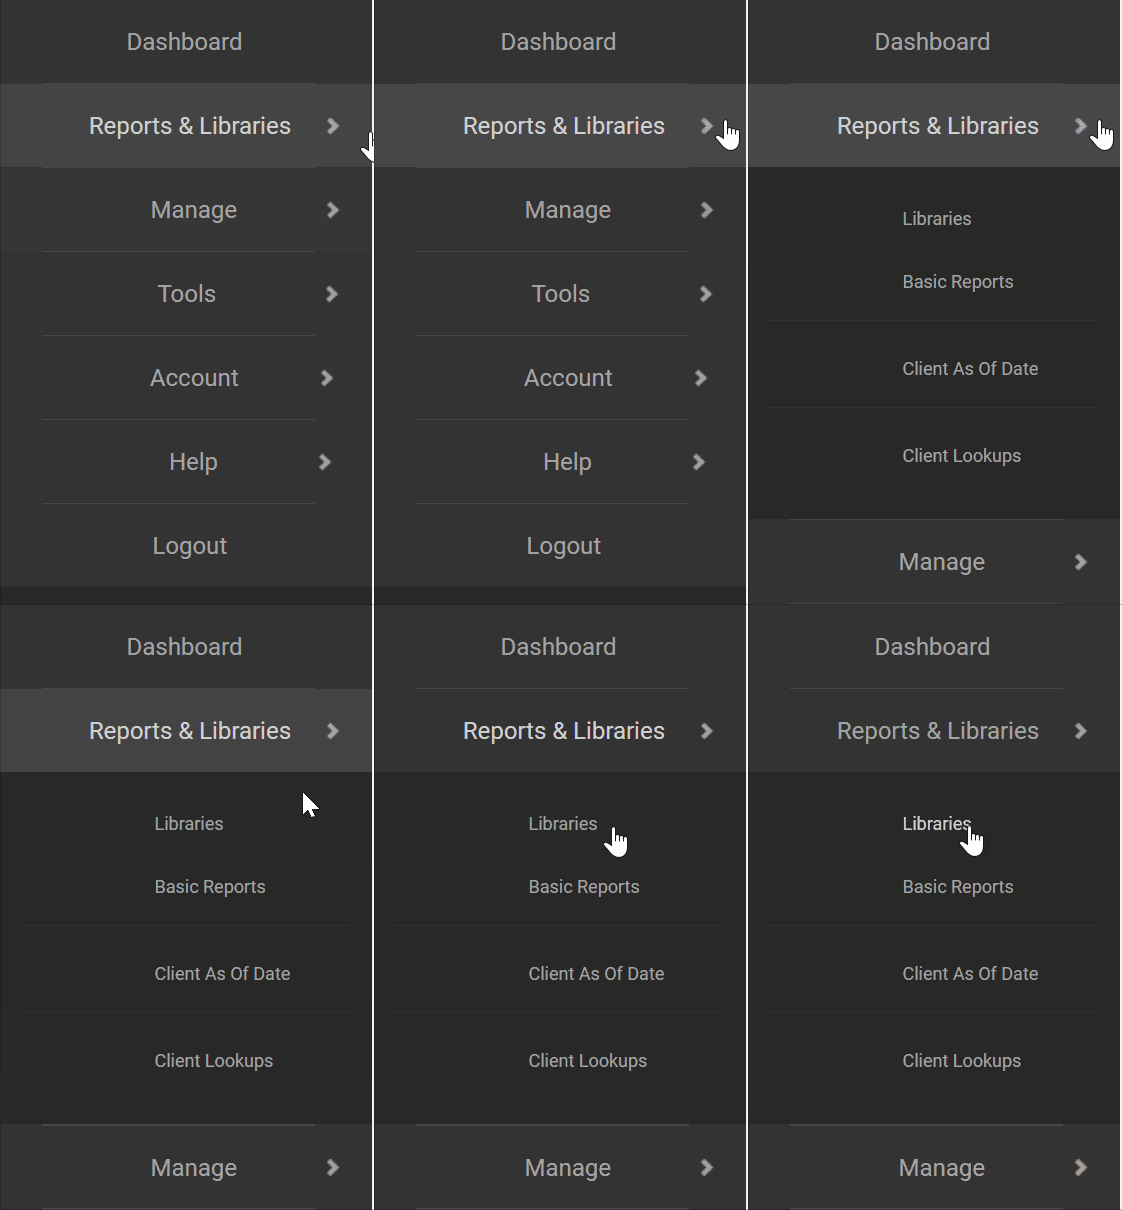
Step 1. Visit Reports & Libraries > Libraries > Qvinci Gallery.

Step 2. Browse the available templates and find one that uses multiple periods, i.e.: Last Mo vs Prev Mo, etc.
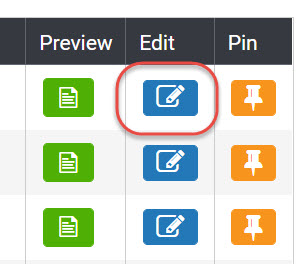
Then press the Edit button.

Note: You're able to select the new As of Date without editing the report.
Step 3. Upon opening the template choose the Save As ![]() button from the left options.
button from the left options.
Step 4. Save the template with a custom name. The saved version will then appear under the Mine tab versus Qvinci Gallery moving forward.
Note: When naming the file, avoid using special characters: "<, >, \, {, and }" which will produce an error until those values are removed.
Step 5. The newly saved report template will automatically open upon clicking the Save As ![]() button.
button.
Customize the Template
Step 1. Notice that macros fill the template. This is what makes it a template versus a hard-coded report. Macros are very important in templates as they drive the datasets that fill in the report each time it runs.

Step 2. All account macros should remain. For example, "Income" has an accounts macro (%%accounts%%) between Income %%headers%% and %%totals%%. This allows the current client/company income accounts to dynamically insert between the header and total rows upon download or preview.
(To understand macros better, view this article that explains Using Macros.)
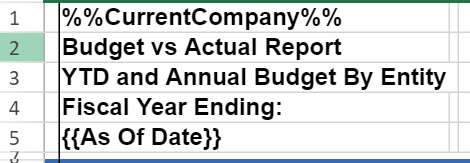
Step 3. Insert rows at the top and create a title for the template.

Step 4. Perform other styling edits as desired, such as font style changes, font sizes, alignment, etc.
Step 5. Once styled, add a macro to drive the financial data columns. Select the Column Chooser ![]() button from the top left.
button from the top left.

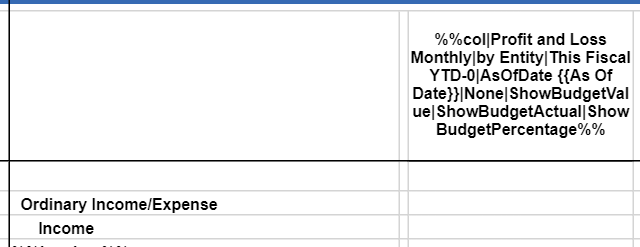
The Column Chooser macro should always appear in a cell above where the first account in the chart of accounts appears.
Step 6. To change a date range, simply click into the cell where the first date range exists and open the Column Chooser![]() to insert a new date range or frequency.
to insert a new date range or frequency.

Step 7. For a multi-period report, the user should insert one macro from the Column Chooser into the desired column (such as Frequency = By Month, Date = Last Month) and then in the next column add another macro (such as Frequency = By Month, Date = Last Month, plus an offset of -12). This combination will yield Last Month data in the first column and the same month from the prior year in the next column.
Step 8. A user could also add a Totals column via the Column Chooser in another column.
Be sure to click Save ![]() to save all edits to the template.
to save all edits to the template.
The template might look something like this:
Step 9. This new template may be downloaded from the Report Styler screen by using one of the Export icons to select and export to Excel or PDF.
![]()
Step 10. The new template may also be added to a Package from Reports & Libraries > Libraries so that it becomes part of a reporting package that might contain other template reports and/or documents.
NOTE: Report templates may contain up to 1,000 rows and 230 columns. If you have reached the maximum amount and you get an error when attempting to add a row or column, scroll over until you have blank rows or columns. Highlight as many blank rows or columns as possible that you need to add, then right-click on them and click Delete. You should then be able to insert more.
Have Questions?
We're More Than Happy to Help
Schedule a call with Customer Success below, email us at support@qvinci.com or call us at 1-512-637-7337 Ext. 1 Available M-F, 7:30am-6:30pm CT and it is always FREE!

Comments
0 comments
Article is closed for comments.