Overview
There are a few positions in Qvinci that can view an Entity. They are Administrator, Leader, Manager, Entity Syncer, or an Entity Viewer. (The link takes you to our User Roles and Permissions article for more information on viewing capability.) Each entity syncer has the ability to manage their own entity within the Qvinci platform. This article provides information on the options you have while managing your entities.
Edit an Entity or Location
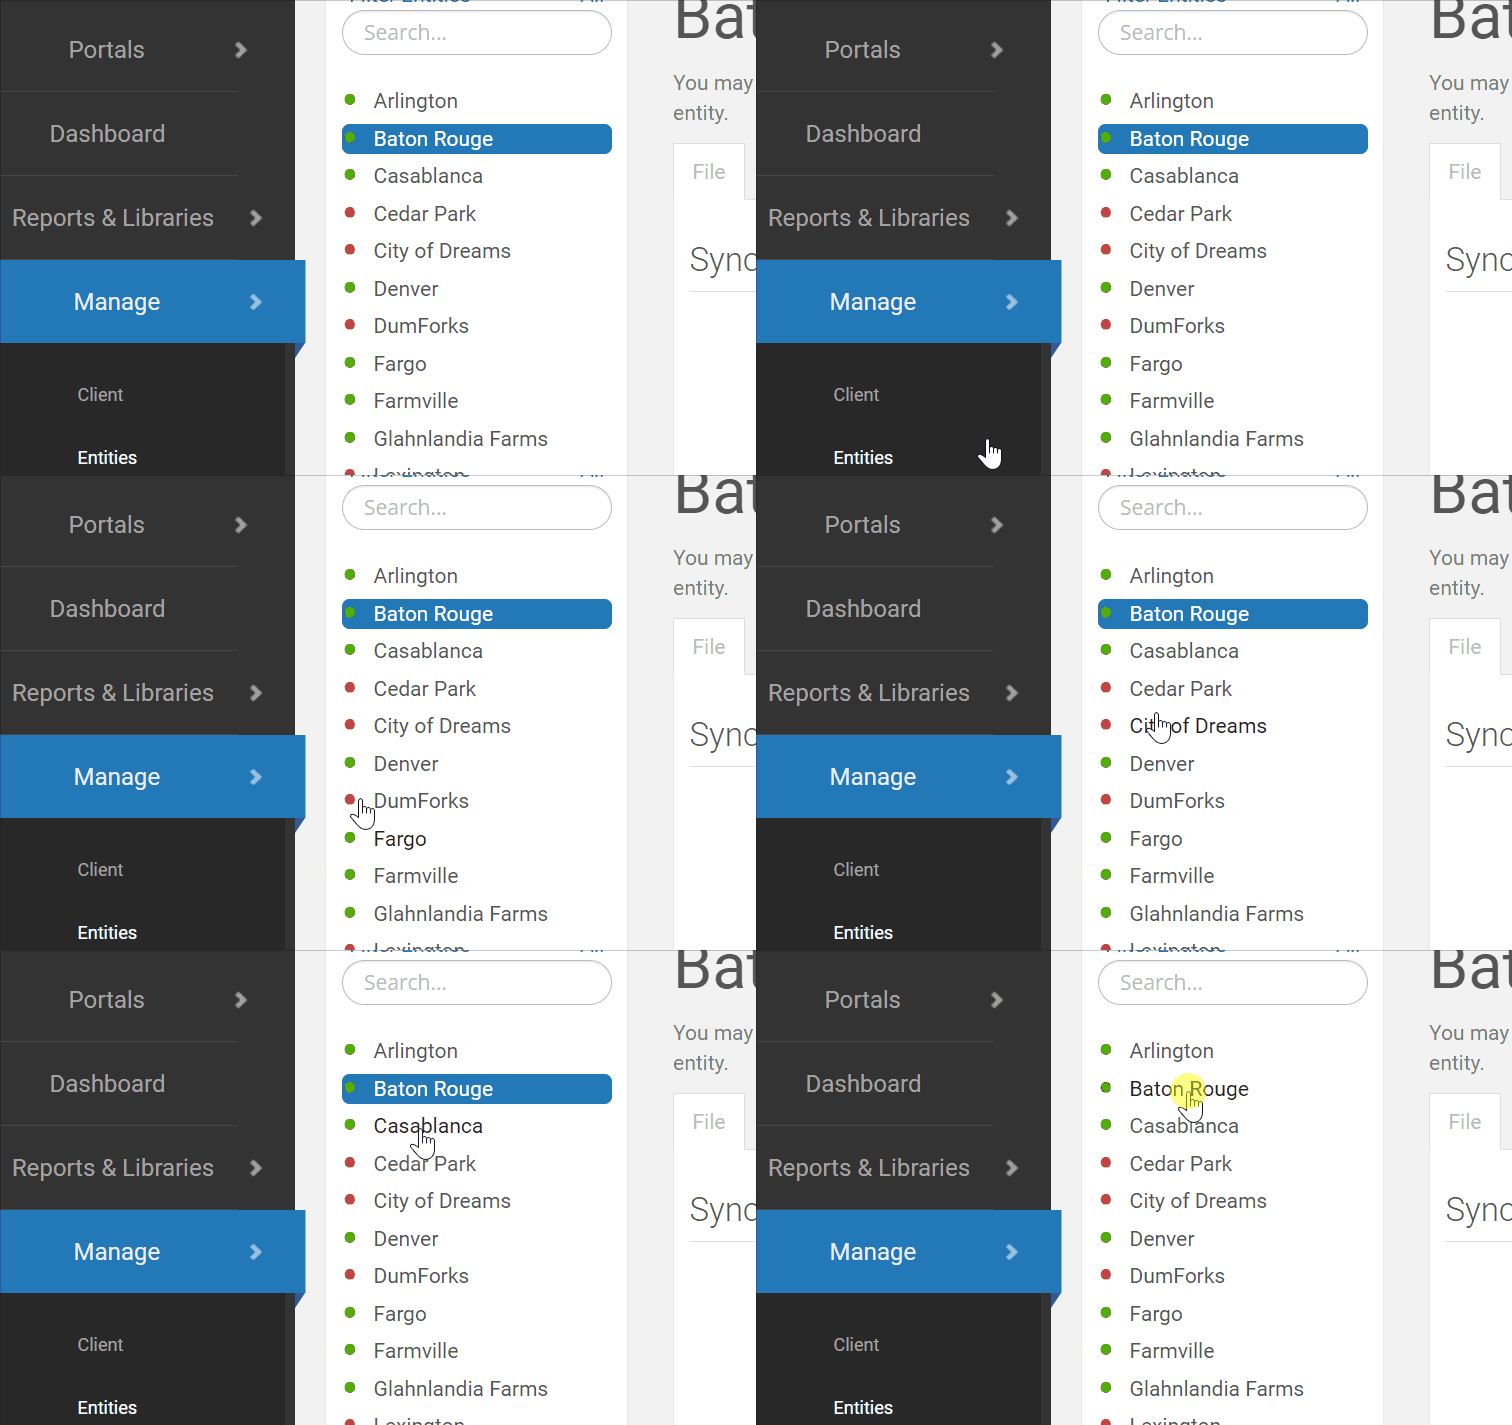
Step 1. Migrate to the Manage > Entities menu.

Step 2. Click on an Entity from the list on the left to manage. You can see all of the entities under your control.


File Tab
Once you have chosen the Entity, select the File tab, confirm that the correct Entity Syncer (syncing user) is designated so that this Entity may contribute financial data moving forward.

Administrative users may edit the details of the Entity by clicking the Edit Basic Details ![]() button.
button.
Reassign the Entity Syncer
Step 1. Click the Edit Basic Details ![]() button.
button.
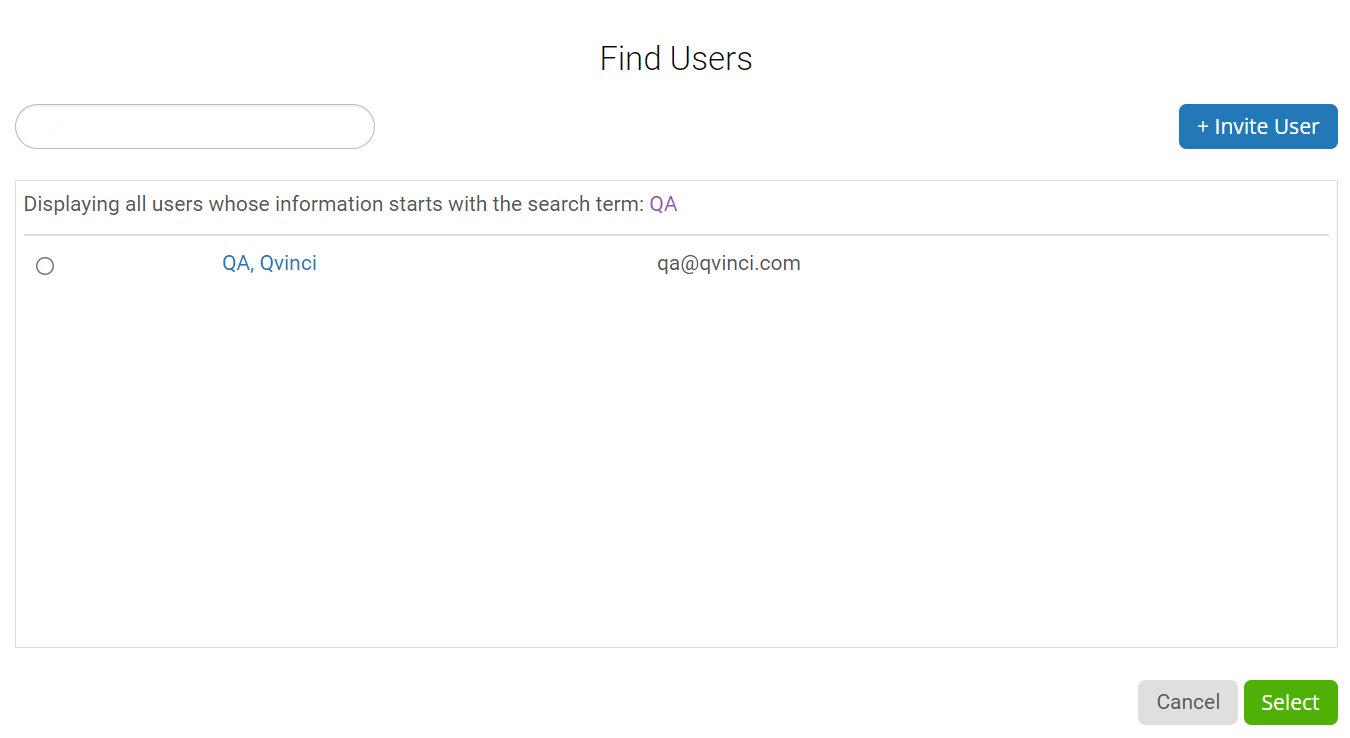
Step 2. Press the Change ![]() button to be able to select an existing user or add a new Entity Syncer.
button to be able to select an existing user or add a new Entity Syncer.

Step 3. If the desired entity syncer is already in your list of users, select the existing user, then press Select ![]() . Then press Save
. Then press Save![]() back on the File screen to assign them as the Entity Syncer.
back on the File screen to assign them as the Entity Syncer.
If the user doesn't exist, to be assigned as Entity Syncer you will need to invite them.
Step 4. Press the Change ![]() button, then press the +Invite User
button, then press the +Invite User ![]() button.
button.
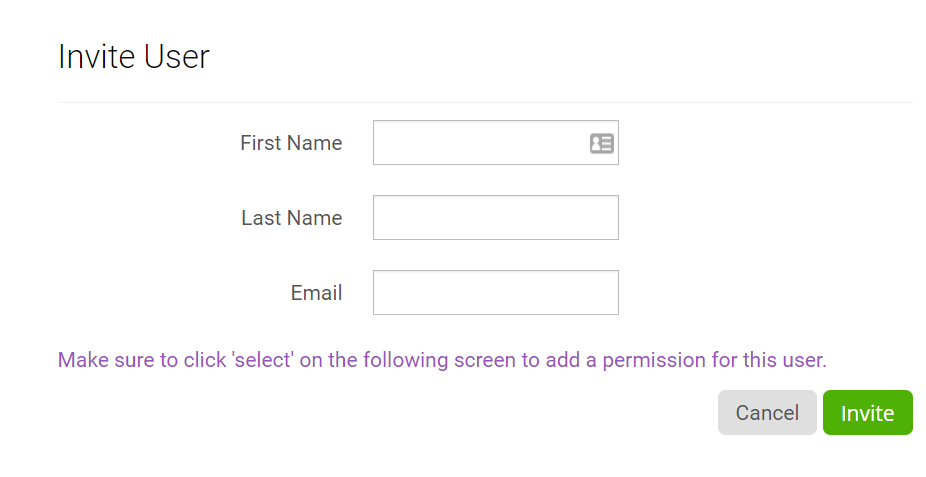
Step 5. Fill out the new user's First Name, Last Name, and Email address.

This will send the user an invitation to activate their Qvinci account. Once they log in, they will have access to the entity.
Note: There is no cost for additional users who can view the entities activities, but there can only be one entity syncer account for an entity.
Permissions Tab
From the Permissions tab, additional Users (Entity Viewers) can be added so they can run reports on this Entity.
Step 1. If the desired Entity Viewer is already in your list of users, select the existing user. Then press Select ![]() and press Save
and press Save![]() to assign them as the Entity Viewer.
to assign them as the Entity Viewer.
If the user doesn't exist to be assigned as Entity Viewer, you will need to invite them.
Step 4. Press the Change ![]() button, then press the +Invite User
button, then press the +Invite User ![]() button.
button.
Step 5. Fill out the new user's First Name, Last Name, and Email address.

This will send the user an invitation to activate their Qvinci account. Once they log in, they will have access to the entity.
Properties Tab
Use the Properties tab to view the business properties of the Entity, such as Founding Date and Number of Full-Time Employees, as well as add any custom properties the admin created.

Financial Snapshots
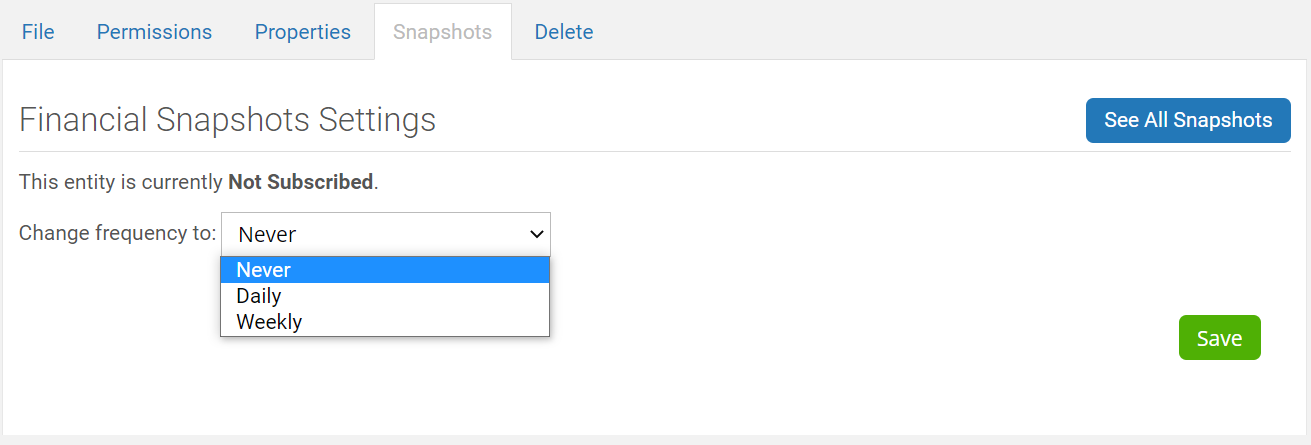
Financial Snapshots are available to all users with permission to view the Entity. Snapshots allow a user to subscribe to an email notification on key financial accounts for an Entity. The accounts tracked in the Financial Snapshot are Total Income, Net Income, Cash, AR, and AP totals.

Delete Tab
Utilize the Delete tab to completely delete the Entity (after you have disconnected the accounting file).
Step 1. Disconnect the accounting file by going to the File tab (as the entity syncer) and locating the Disconnect button located below the Linked File Type.

Step 2. Once the screen refreshes, you can Delete a file.
Step 3. Go to the Delete tab and delete the entity.

Note: A deleted entity will not change the billing. Deleting the entity only removes the entity and makes this inventory available to use for another entity. Read this article for creating or deleting an entity for more information.
Have Questions?
We're More Than Happy to Help
Schedule a call with Customer Success below, email us at support@qvinci.com or call us at 1-512-637-7337 Ext. 1 Available M-F, 7:30am-6:30pm CT and it is always FREE!

Comments
0 comments
Article is closed for comments.