Overview
Once your QuickBooks® files have been linked, they may be bulk synced (synced in succession) by a user who is the Entity Syncer for multiple Entities.
NOTE: All instances of QuickBooks must be closed across your system for bulk syncs to process properly. Also, bulk sync is not compatible with servers running terminal services.
Bulk Sync a QuickBooks File
Step 1. If the Qvinci Sync Application is not already running from the System Tray on your own Windows computer, launch it from your desktop or from within your Citrix environment.
Step 2. Migrate to your System Tray (lower right corner of your screen, by the clock) and open the Qvinci Sync Application from your System Tray.

Step 3. Log into the Qvinci Sync Application.
Step 4. Click the Bulk Sync tab and ensure the box is check-marked for all files needing to be bulk synced.

Step 5. Click the Sync ![]() button to sync the checked files.
button to sync the checked files.
If the Sync ![]() button is grayed out and not clickable, ensure QuickBooks® is closed and not running on the computer.
button is grayed out and not clickable, ensure QuickBooks® is closed and not running on the computer.

Step 6. Once you are ready to sync, press the Sync ![]() button. All files will sync in succession of each other. Some files may be bypassed if there is not an available connection to the file.
button. All files will sync in succession of each other. Some files may be bypassed if there is not an available connection to the file.
If a file was bypassed in the Bulk Sync process, simply open that QuickBooks file and, from the In-File Sync tab, click the Sync ![]() button.
button.
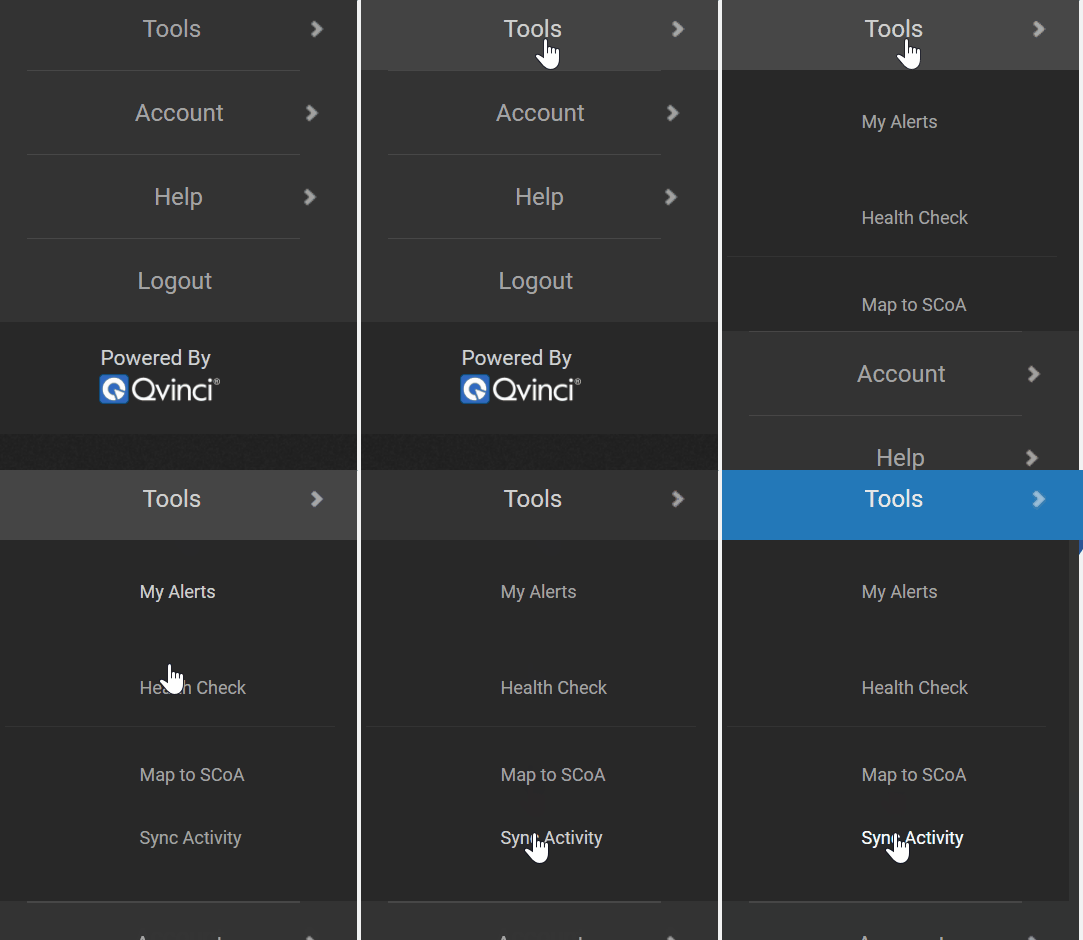
Step 7. Within Qvinci, migrate to the menu and select Tools > Sync Activity to check the status for each file.

Note: All instances of QuickBooks must be closed in order for a Bulk sync to run. (Open the Task Manager on the computer and check that "QBW32.EXE" isn't listed in the running processes. If it is, click on it and end that process.)
Have Questions?
We're More Than Happy to Help
Schedule a call with Customer Success below, email us at support@qvinci.com or call us at 1-512-637-7337 Ext. 1 Available M-F, 7:30am-6:30pm CT and it is always FREE!

Comments
0 comments
Article is closed for comments.