Overview
Learn how to navigate the account creation process in Qvinci, as well as set up clients and add your users.
Video Tutorial
![]() Create a Qvinci for Accountants Account
Create a Qvinci for Accountants Account
Create a New Client/Company
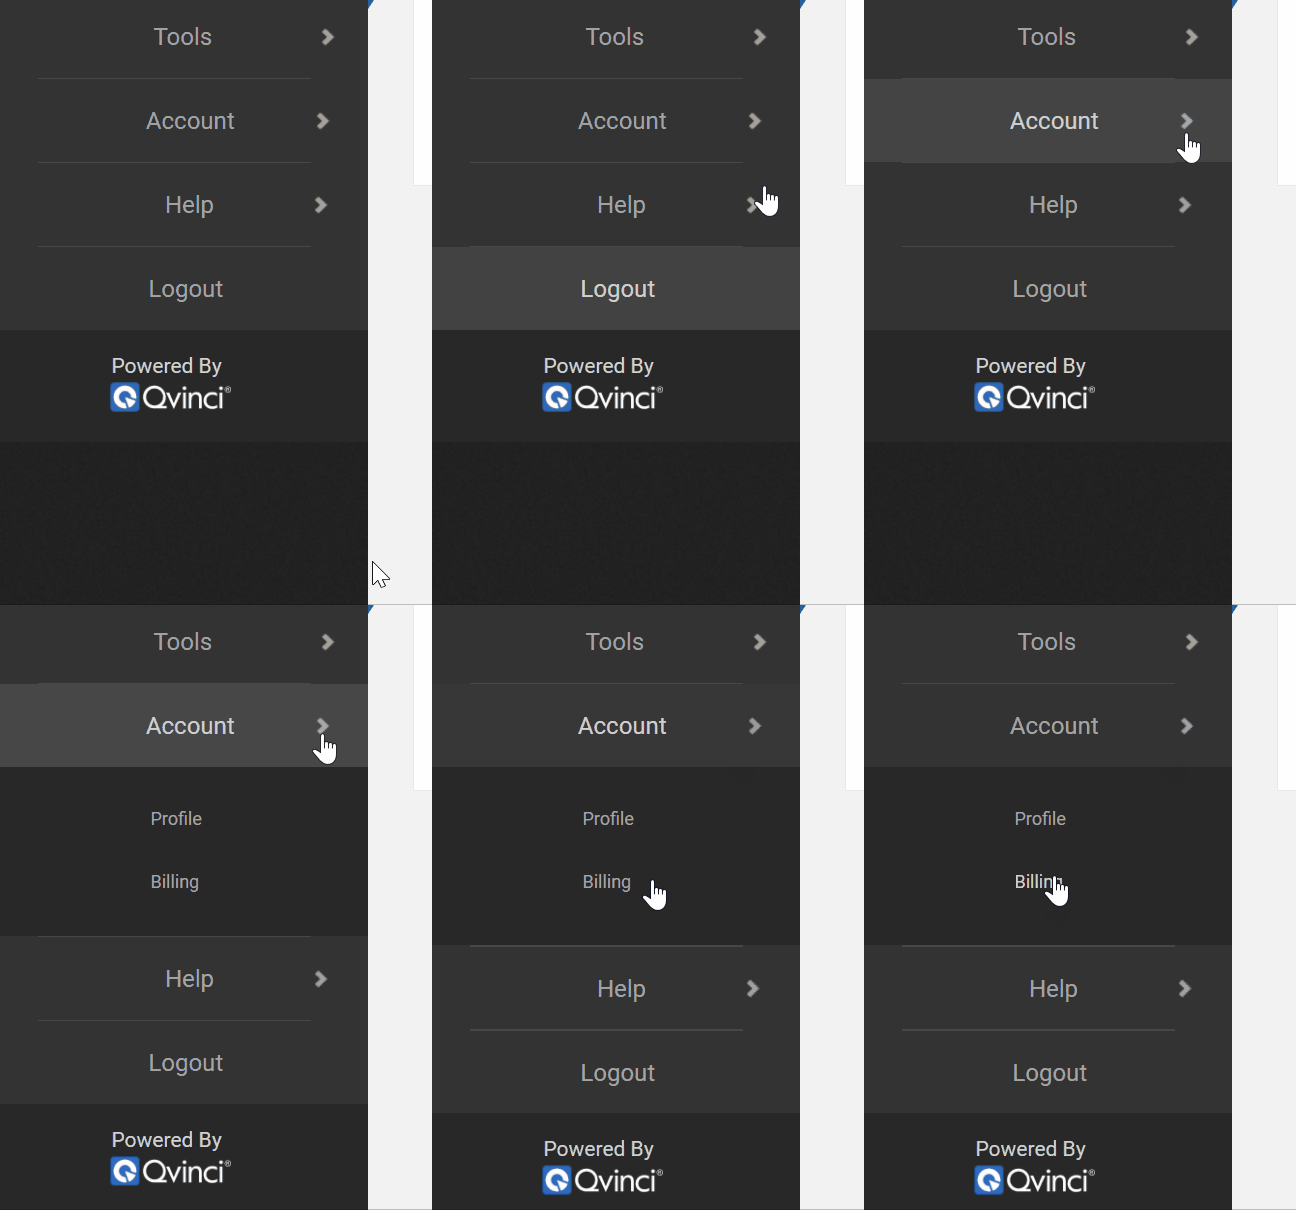
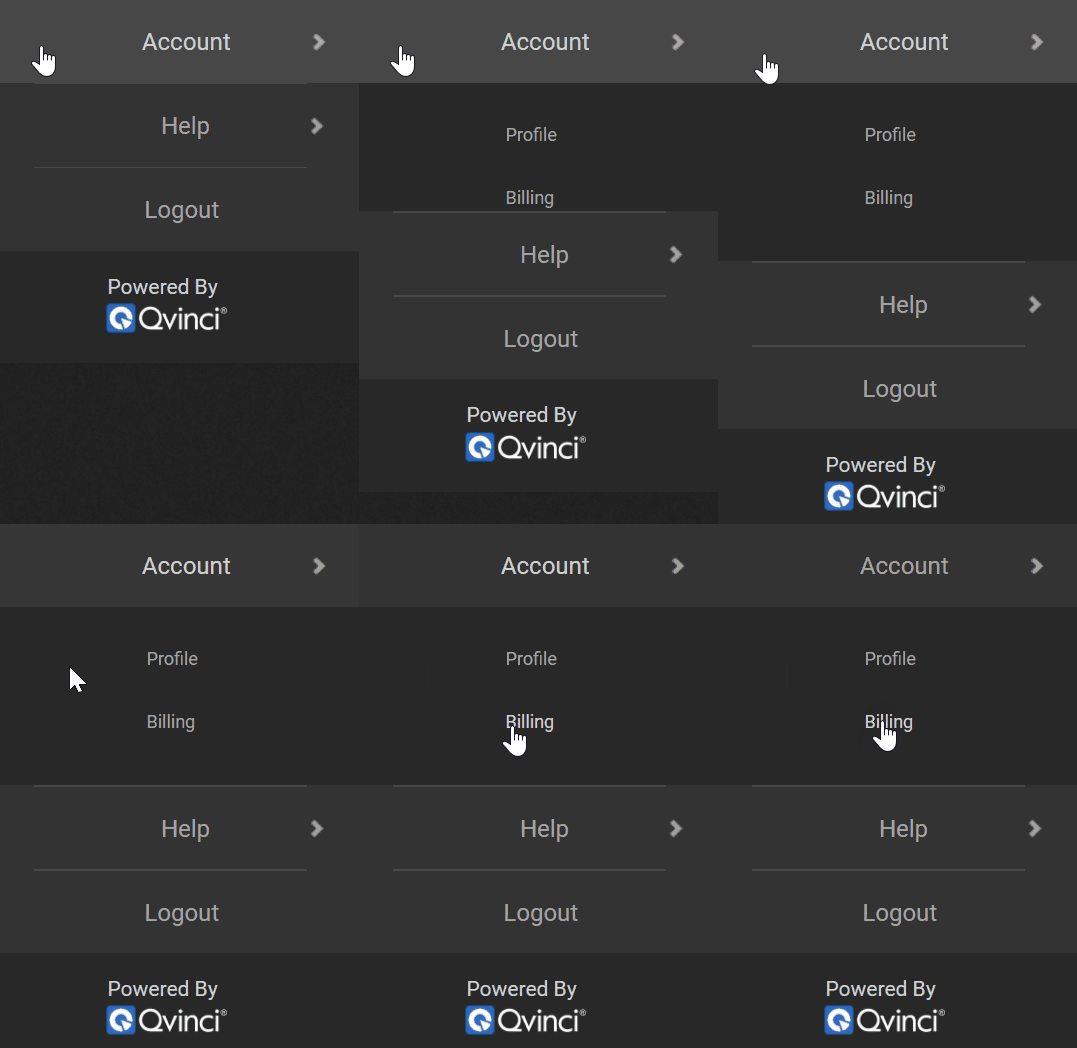
Step 1. From the menu select Account > Billing.

Step 2. Click the button +Add a Client ![]() in the top-right corner.
in the top-right corner.
Step 2. Select the plan option that best fits the Client/Company you want to create, then click the Select Plan ![]() button.
button.
Note: When selecting the by Class option, a minimum of 3 Entities will be billed for in the by Class subscription.
This option also allows only users to sync QuickBooks Classes or Locations as opposed to the full QuickBooks file.
Step 3. Create the Client/Company by entering the name, accounting method, and currency.
Step 4. Toggle on/off Peer Benchmarking, Balance Sheet sync, and P&L Weekly reporting as necessary.
Step 5. Choose a Standard Chart of Accounts template (Always choose the Custom option on this screen. (This may be customized in the future if you made the wrong selection.) After setup, you may choose to ![]() manage the SCoA or
manage the SCoA or ![]() Contact Qvinci Support to request a custom SCoA be uploaded.
Contact Qvinci Support to request a custom SCoA be uploaded.
Step 6. Enter at least one Entity name on the Entity Creation screen and assign the corresponding Entity Syncer (person who will make the initial connection with the accounting file). Additional Entities may be created at any time.
Note: If the Entity Syncer user needs to be changed to another user after the first sync is performed, follow these steps to reassign the Entity Syncer.
Step 7. Choose whether this Client/Company should be billed monthly or annually and enter billing information.
Step 8. Once the Client/Company is created, the current Entity Syncer may sync the accounting file from the Manage > Entities menu by selecting Actions from the top right or, again, you may create another Client/Company from the +Add Client or +Add Company button at the top-right of the Advisory or Financial Portal screens.
Once the Client/Company is created, the Qvinci Admin may create another Client/Company by following the steps above or may proceed to ![]() Sync Data.
Sync Data.
Purchase Inventory for Entity Creation
Step 1. As an Admin or Leader, log in to your Qvinci Account
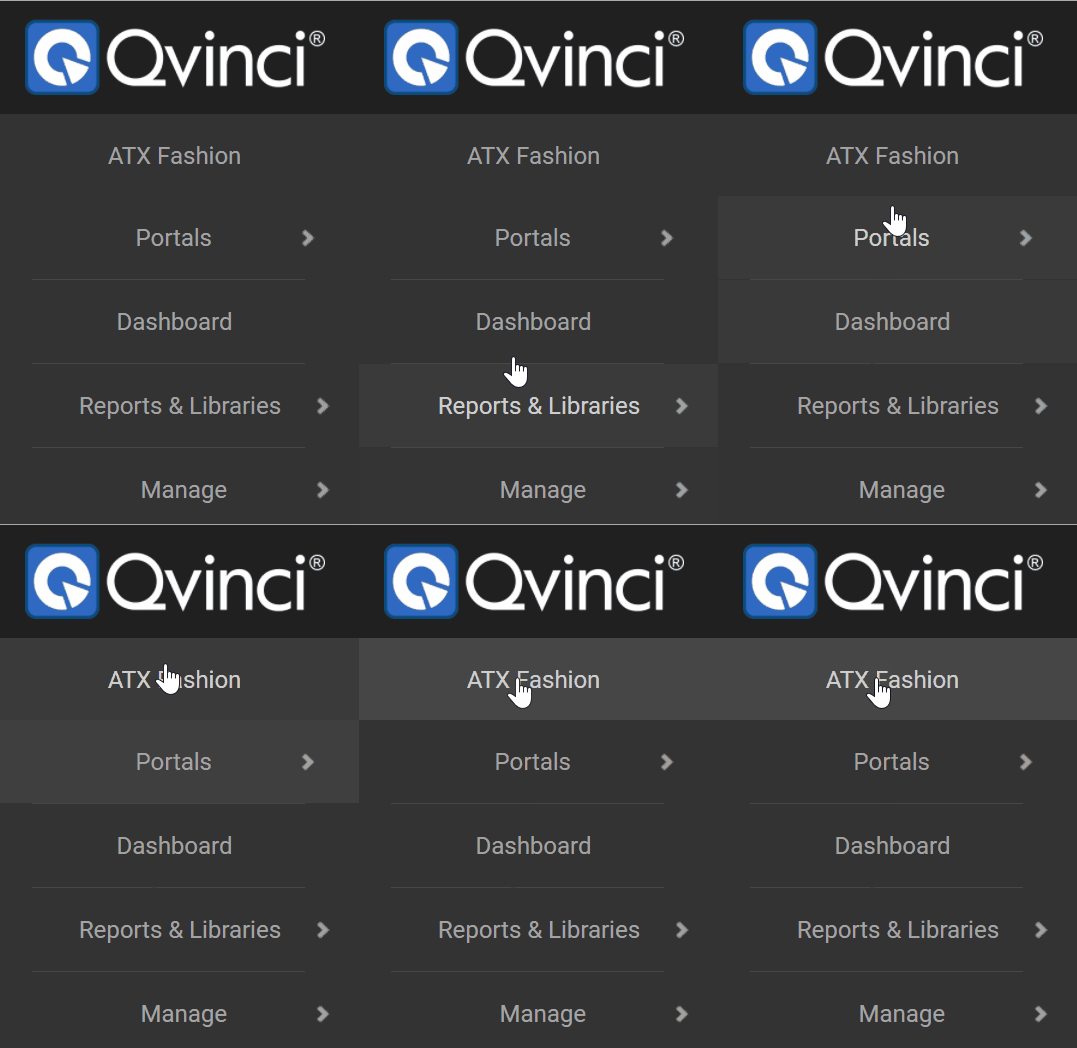
Step 2. If multiple Qvinci Client/Companies exist, select the correct Client/Company by clicking the top-left corner.

Step 3. When the list of companies appears, click the Blue Arrow ![]() to change to the selected company.
to change to the selected company.

Step 4. Now that you're in the correct company that you want to add additional entities inventory in, go to the left menu and click Account > Billing.

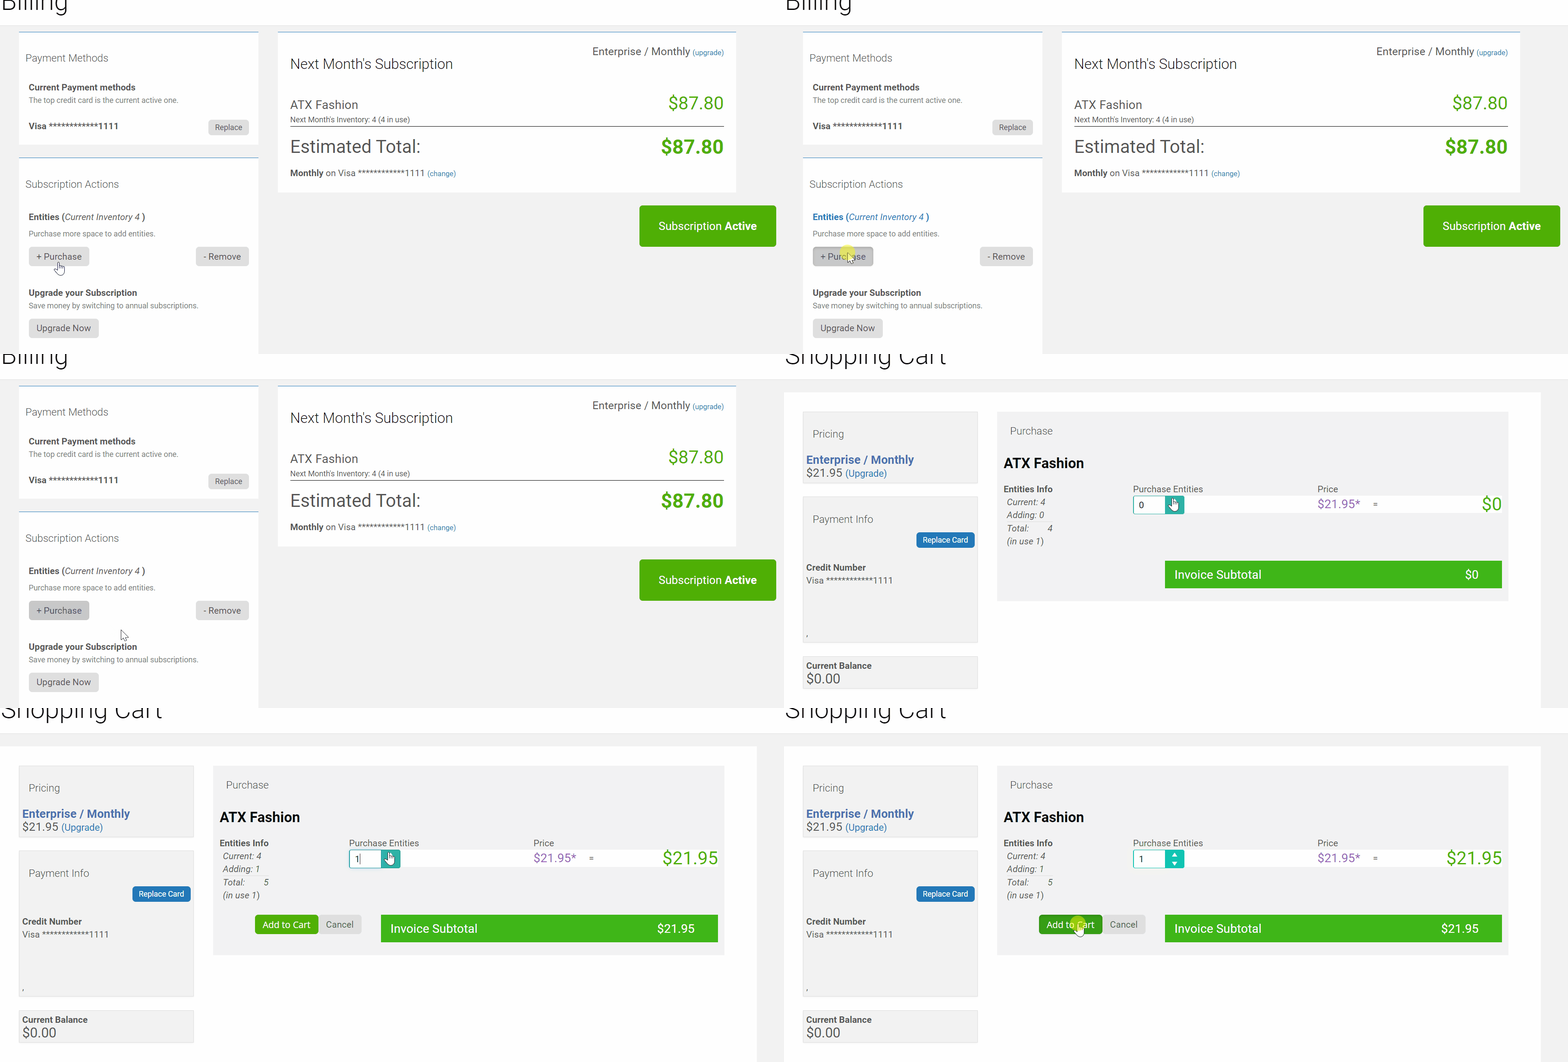
Step 5. From the Account > Billing tab click the gray + Purchase ![]() button.
button.
Step 6. You must add more inventory before you can then assign that inventory to an Entity. In addition to purchasing inventory, this screen will show you the total inventory you have and how many are currently in use.

Step 7. Click the Add to Cart ![]() button to add the new inventory.
button to add the new inventory.
Step 8. On the next screen, review the details of your purchase.
If you are purchasing during the middle of your billing cycle, your purchase will be prorated.
Step 9. Click the Buy Now ![]() button to confirm the purchase.
button to confirm the purchase.
Your new inventory is available for immediate use, and you may begin Creating Entities ![]() with the unused inventory.
with the unused inventory.
Have Questions?
We're More Than Happy to Help
Schedule a call with Customer Success below, email us at support@qvinci.com or call us at 1-512-637-7337 Ext. 1 Available M-F, 7:30am-6:30pm CT and it is always FREE!

Comments
0 comments
Article is closed for comments.